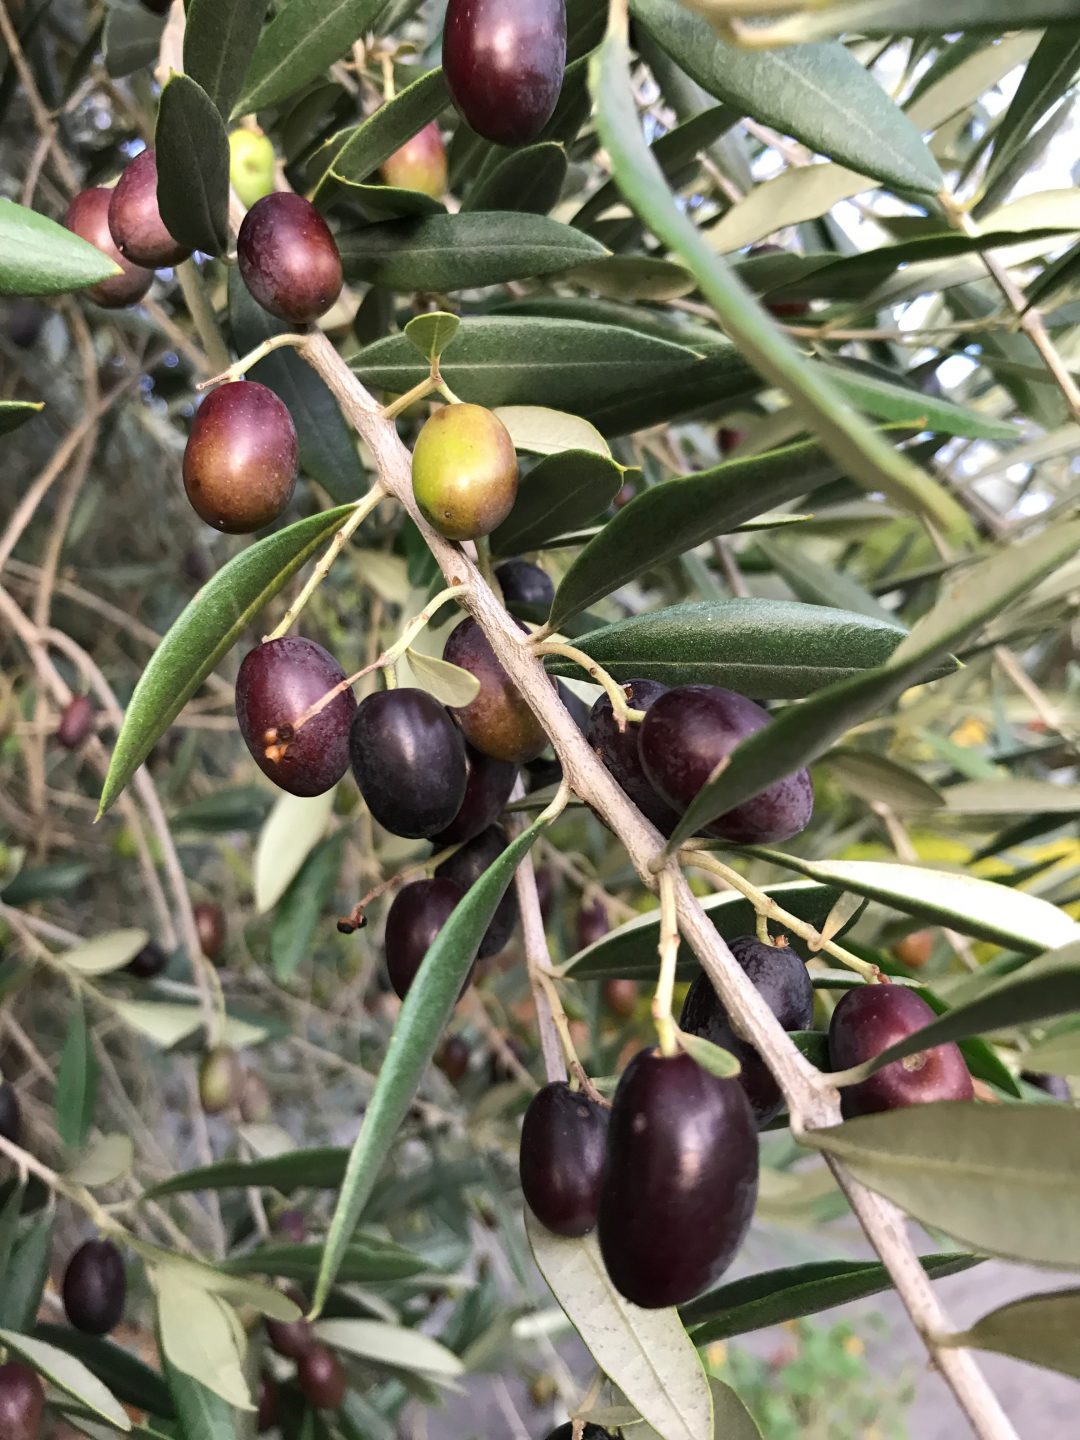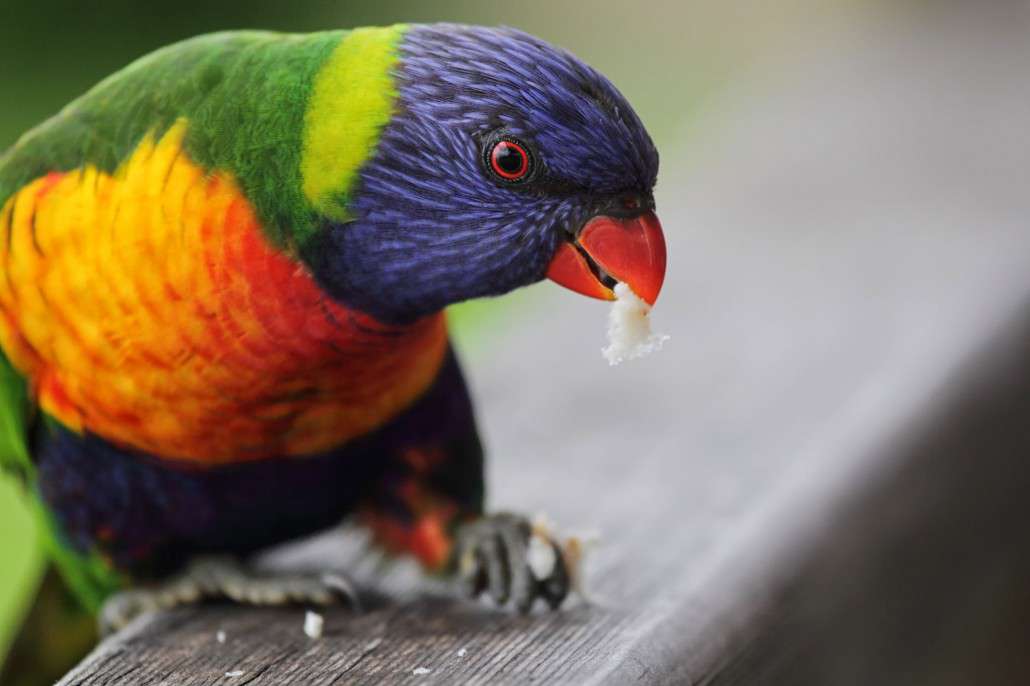
I was working out in the garden today, listening to the lorikeets squabbling and screeching as they flew through my garden. It’s such a sight to see the lime green and red flashing through the trees. Lorikeets love to feed on the nectar and flowers of our native flowers and fruits but the collective noise is at times deafening. As I watched and marvelled at the cacophony I suddenly remembered last year…. and promptly flew into a panic.
“Batten down the hatches! They’ve come for the olives!!!”

Last year was the very first time I was around and able to pick my own olives and pickle them. Then I had to literally rush to save the olives from these gorgeous looking birds and, heaven forbid, it was obviously that time again. Darling little fellows don’t seem to eat the fruit, only the little green stalks, sending the olives onto the ground with usually a peck mark just for luck.
We dropped our spades to grab our buckets and baskets then flew back out the door to gather as many olives as we could from the trees and the ground. Because He Who Thinks All Trees Should be Useful has planted about five olive trees, and they are prolific, we were out there for ages. We came in with two and half full buckets. Thankfully it will be 2 weeks before we put them in jars so I have time to go out to buy a few more jars. I am proud and generous with my olives but have discovered that can be helpful to ask friends to return their jar for a refill when their olives are eaten…that way you can recycle, refill and reduce waste.
It’s time to start the pickling process!
HONESTLY SILVER OLIVES
Everyone really liked last years olives because they were a bit different. Not only did I preserve them in water, rather than oil, but I added some extra flavours to the jars as well. The hardest part is leaving them untouched in a cool place for at least 4 months to allow all the flavours to develop properly. The recipe is a mixture of ideas from friends, the internet and books but I don’t follow any one recipe religiously. This is my version:
MY STEP-BY-STEP GUIDE TO PICKLING OLIVES
Here is a step by step you might like to try.
-
Cut the olives down one side with a sharp knife. Tedious I know, but I think the bitterness washes out quicker and the flavours develop better. I make sure there are no sticks still attached (not sure if this is vital but that’s what I do.)
-
Place them in a large container and cover them in fresh water.
-
I fill a large snap-lock plastic bag with water and place it on the top to push the fruit down ensuring all the olives are submerged.
-
Change the water everyday for 14 days (a five minute job.)
-
Then start tasting the olives to see if they have lost their bitterness. I find that the smaller olives lose their bitterness faster than large ones.
-
Measure the last lot of water as you discard it so you will know how much brine to make.
MAKING THE OLIVE BRINE
-
To make the brine: For every 500ml water , add 150mls white vinegar and 2 Tbs coarse salt. The salt is easier to dissolve in 4-5 Tbs of warm water before you add it to the 500mls of cold water.
-
The jars and lids must to be washed in hot soapy water and rinsed well or use the dishwasher on hygiene wash. Then sterilize them in an oven (125C ) for 15-20 minutes.
-
As I pack the jars as tight as I can with the olives, I like to add long strips of lemon zest, a few bay leaves and sometimes a chopped red chili or garlic slices as I go. You can use orange peel too if you like.
-
Now pour the brine in to overflowing – NO AIR. Of course you can pack the jars and use olive oil if preferred. Screw lids on tightly and store in a cool dark place.
-
Leave for 2 months but 4 is even better before eating.
-
I like to refrigerate my olives after opening. Once open, pour 2Tbs of good olive oil on top to stop any air getting to the top olives.
Enjoy your Honestly Silver Olives!
