
HOMEMADE BY ME
CROSS OVER SLIPPERS.
I am a knitter who has developed arthritis so instead of knitting big things I now aim for the short and sweet. I set about to make a tiny pair of slippers. On line I found Joes Toes. She has terrific ideas to create slippers with a purchased sole and kits. The sides are simply straight strips crossed over at the toe. They were the cutest little slippers so with a remnant of 4 ply wool I set out to make my first pair, deciding to try create the sole myself.
Ideas for someone who knits.
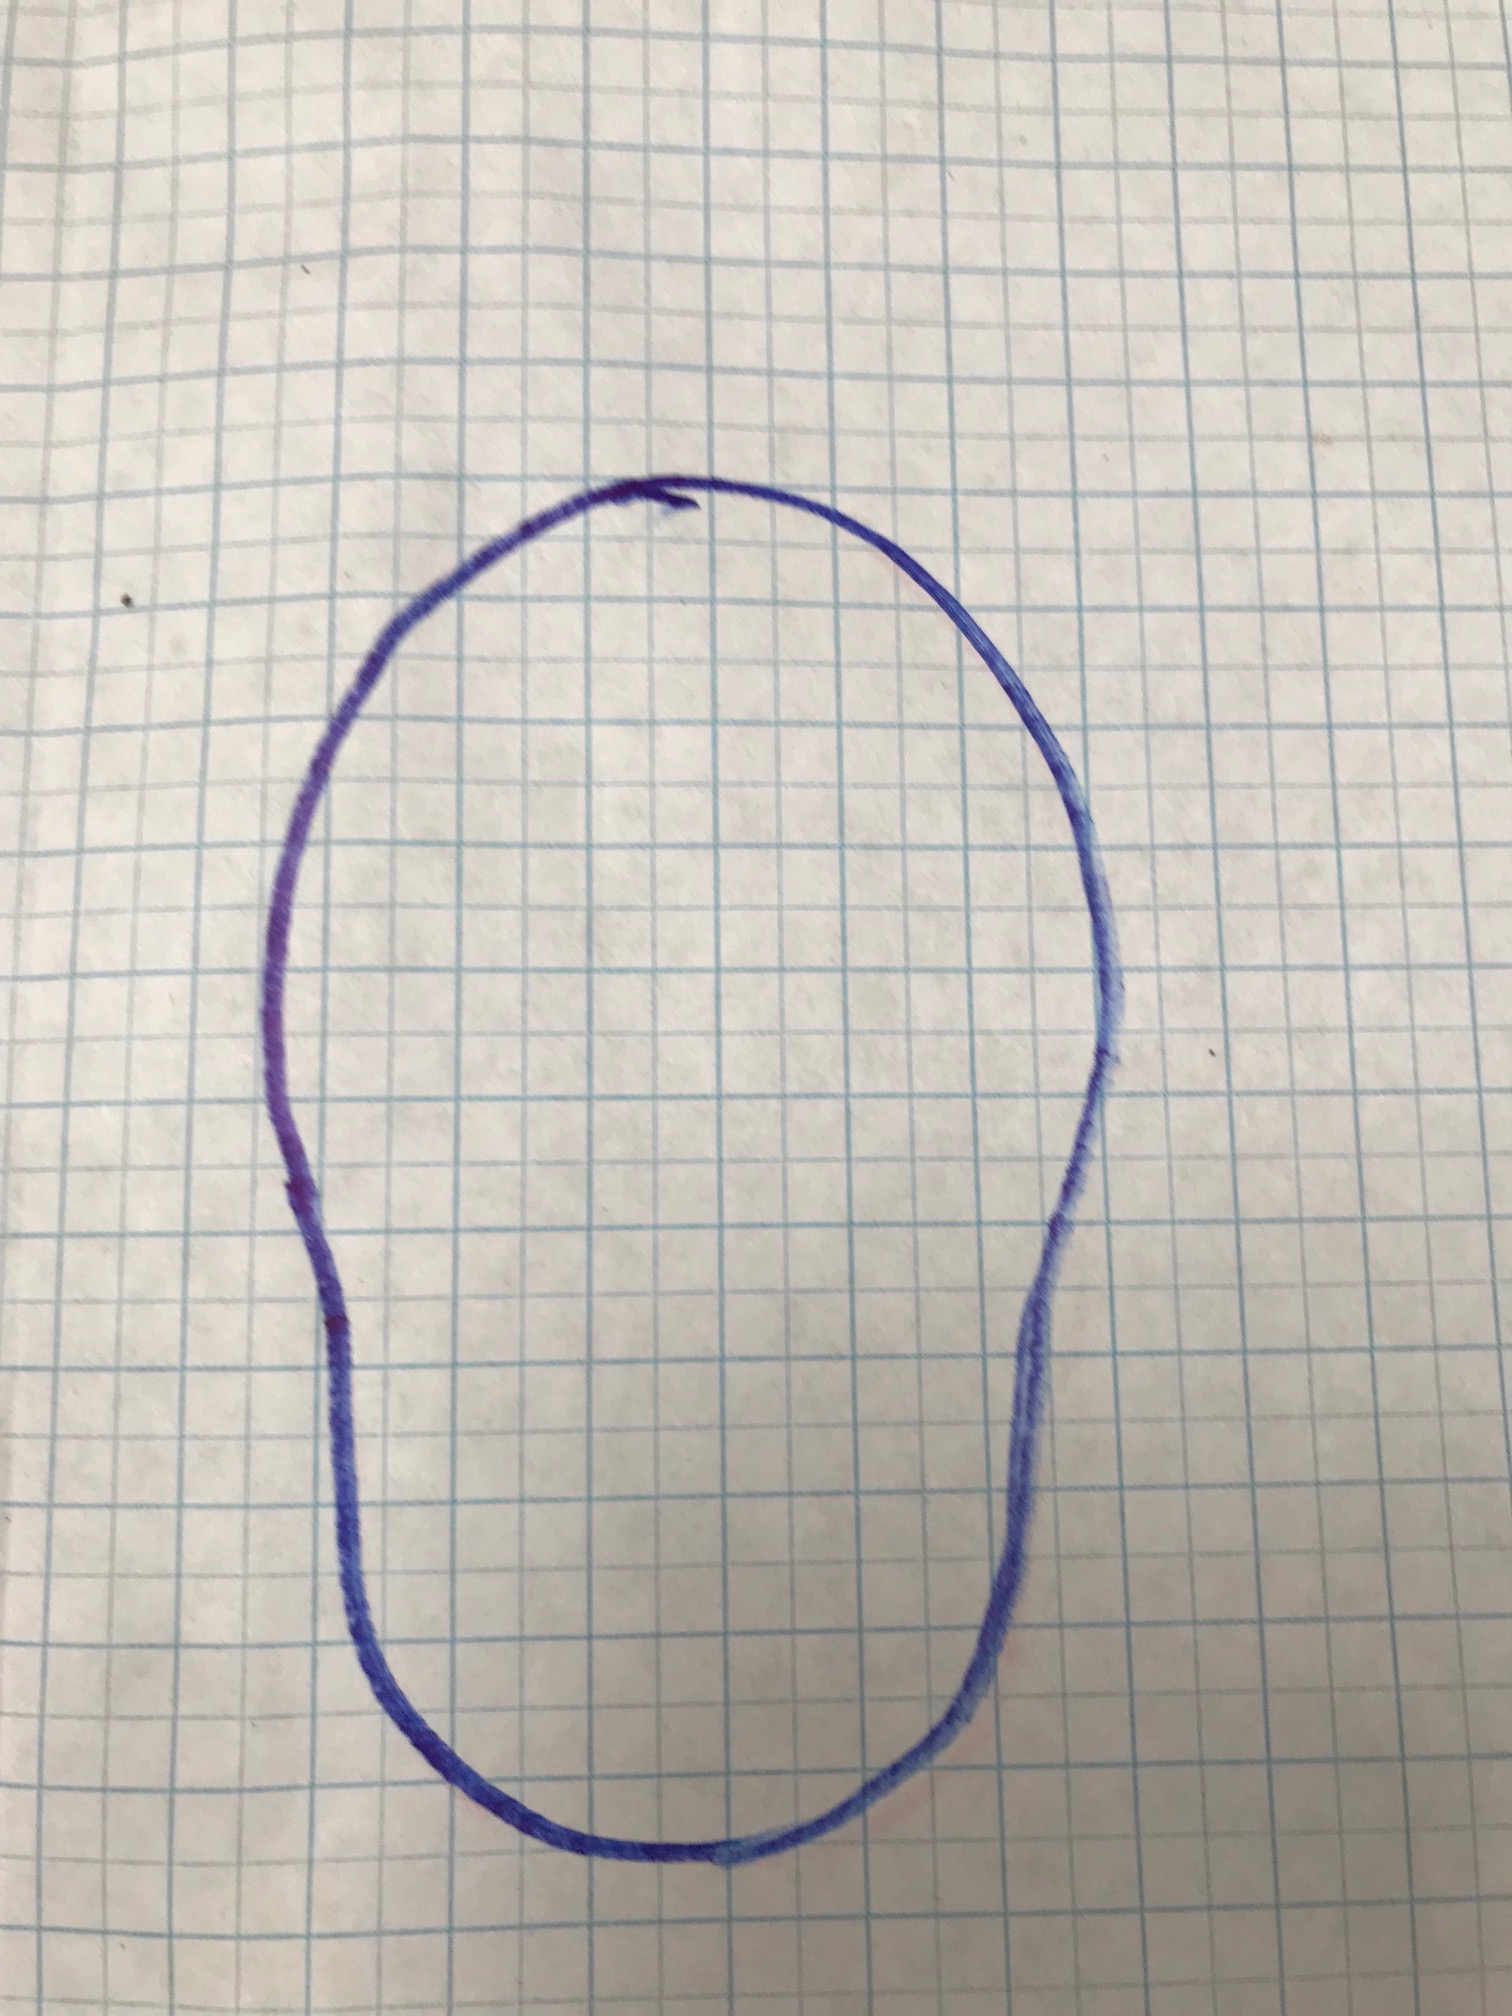
Below is the pattern which is really for those who already knit and have confidence to wing it a bit. For the sole I decided to use plain crochet because it seems thicker. For the pattern I took a piece of graph paper and drew a foot shape onto it. I counted the number of squares at A and that became the number of stitches to cast. In this case 5. Then I just increased as the graph increased.
If you are knitting the sole simply count every square as knit and return purl row but if using double crochet 1 graph row is 1 crochet row and if knitting one graph row is 2 knitted rows. As in the graph I increased or decreased one at each end of the row to follow the shape.
ENLARGING YOUR GRAPH PATTERN
To make a bigger slipper just trace around the outside shape in increments until it is the right size You could draw around the foot or trace around a shoe too. Another way is to enlarge it on your printer. Another way to enlarge would be to count each graph row as 4 knit rows and the 6 graph rows and so on.
THE GRAPH
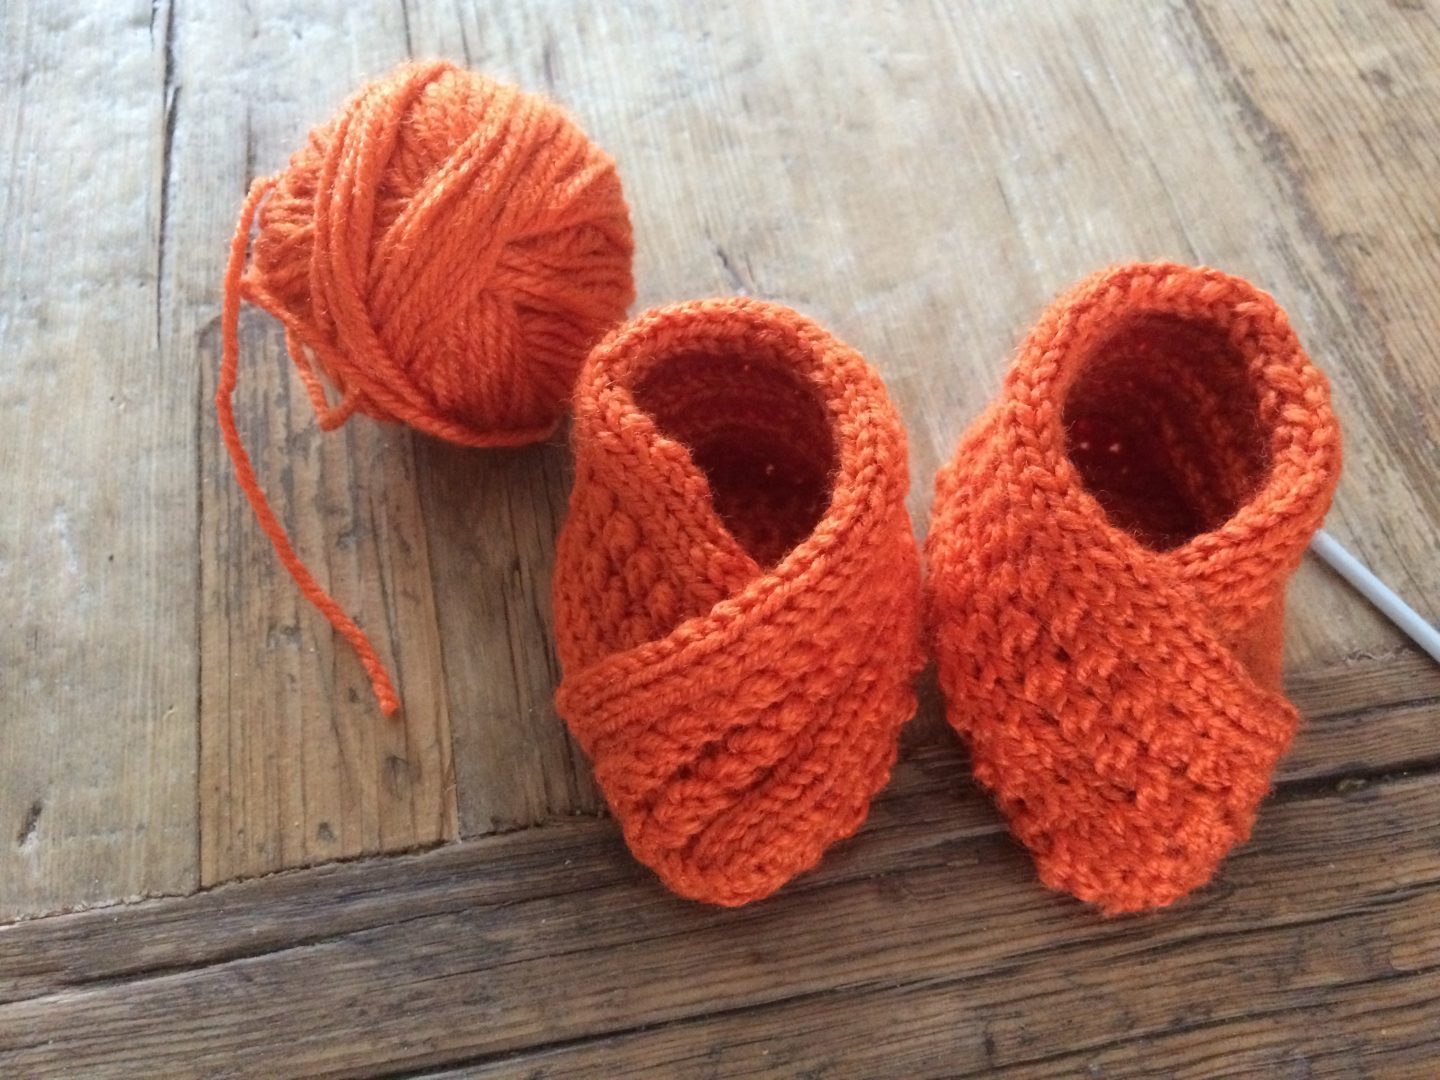
THE ORANGE CUTIES
THE SIDE.
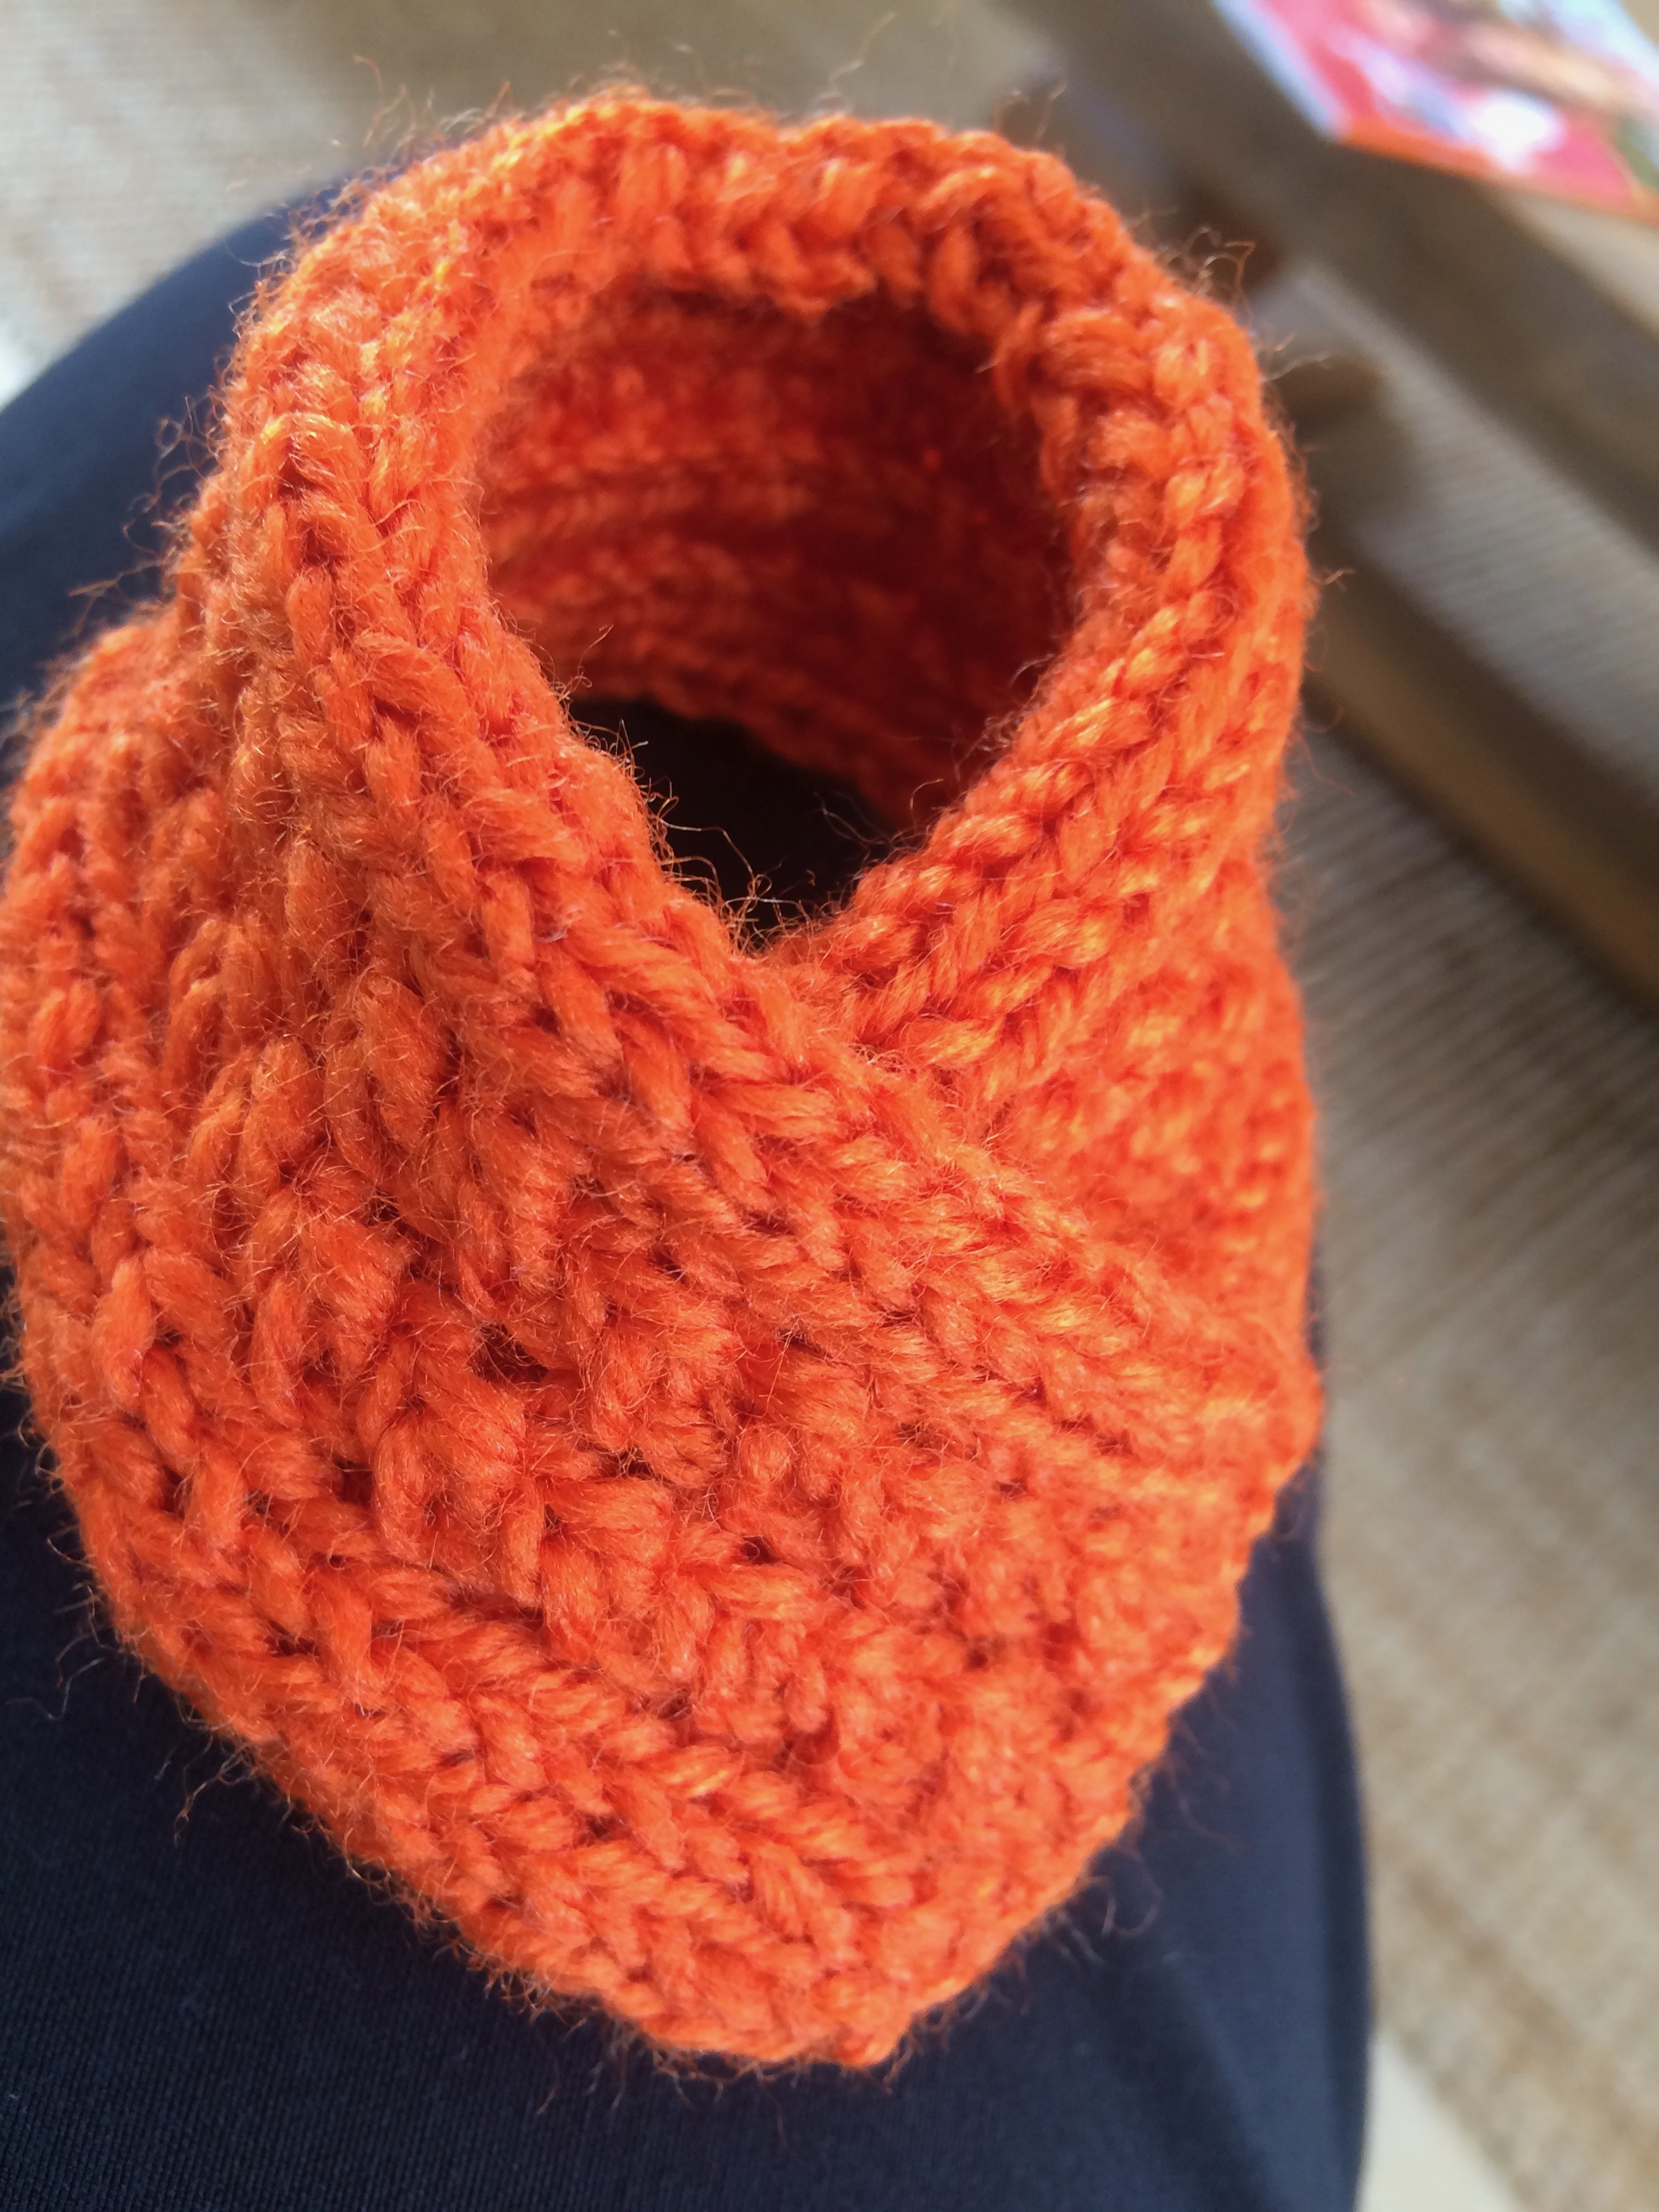
I used a simple two stitch twist stitch but you can use any stitch a cable or just knit using garter stitch (all knit rows) . Measure how deep you wish the side to be.
CAST ON 13
Row 1: K2, P1, Twist 2, P1, Twist 2, P1 K
Row 2: Purl (all return rows)
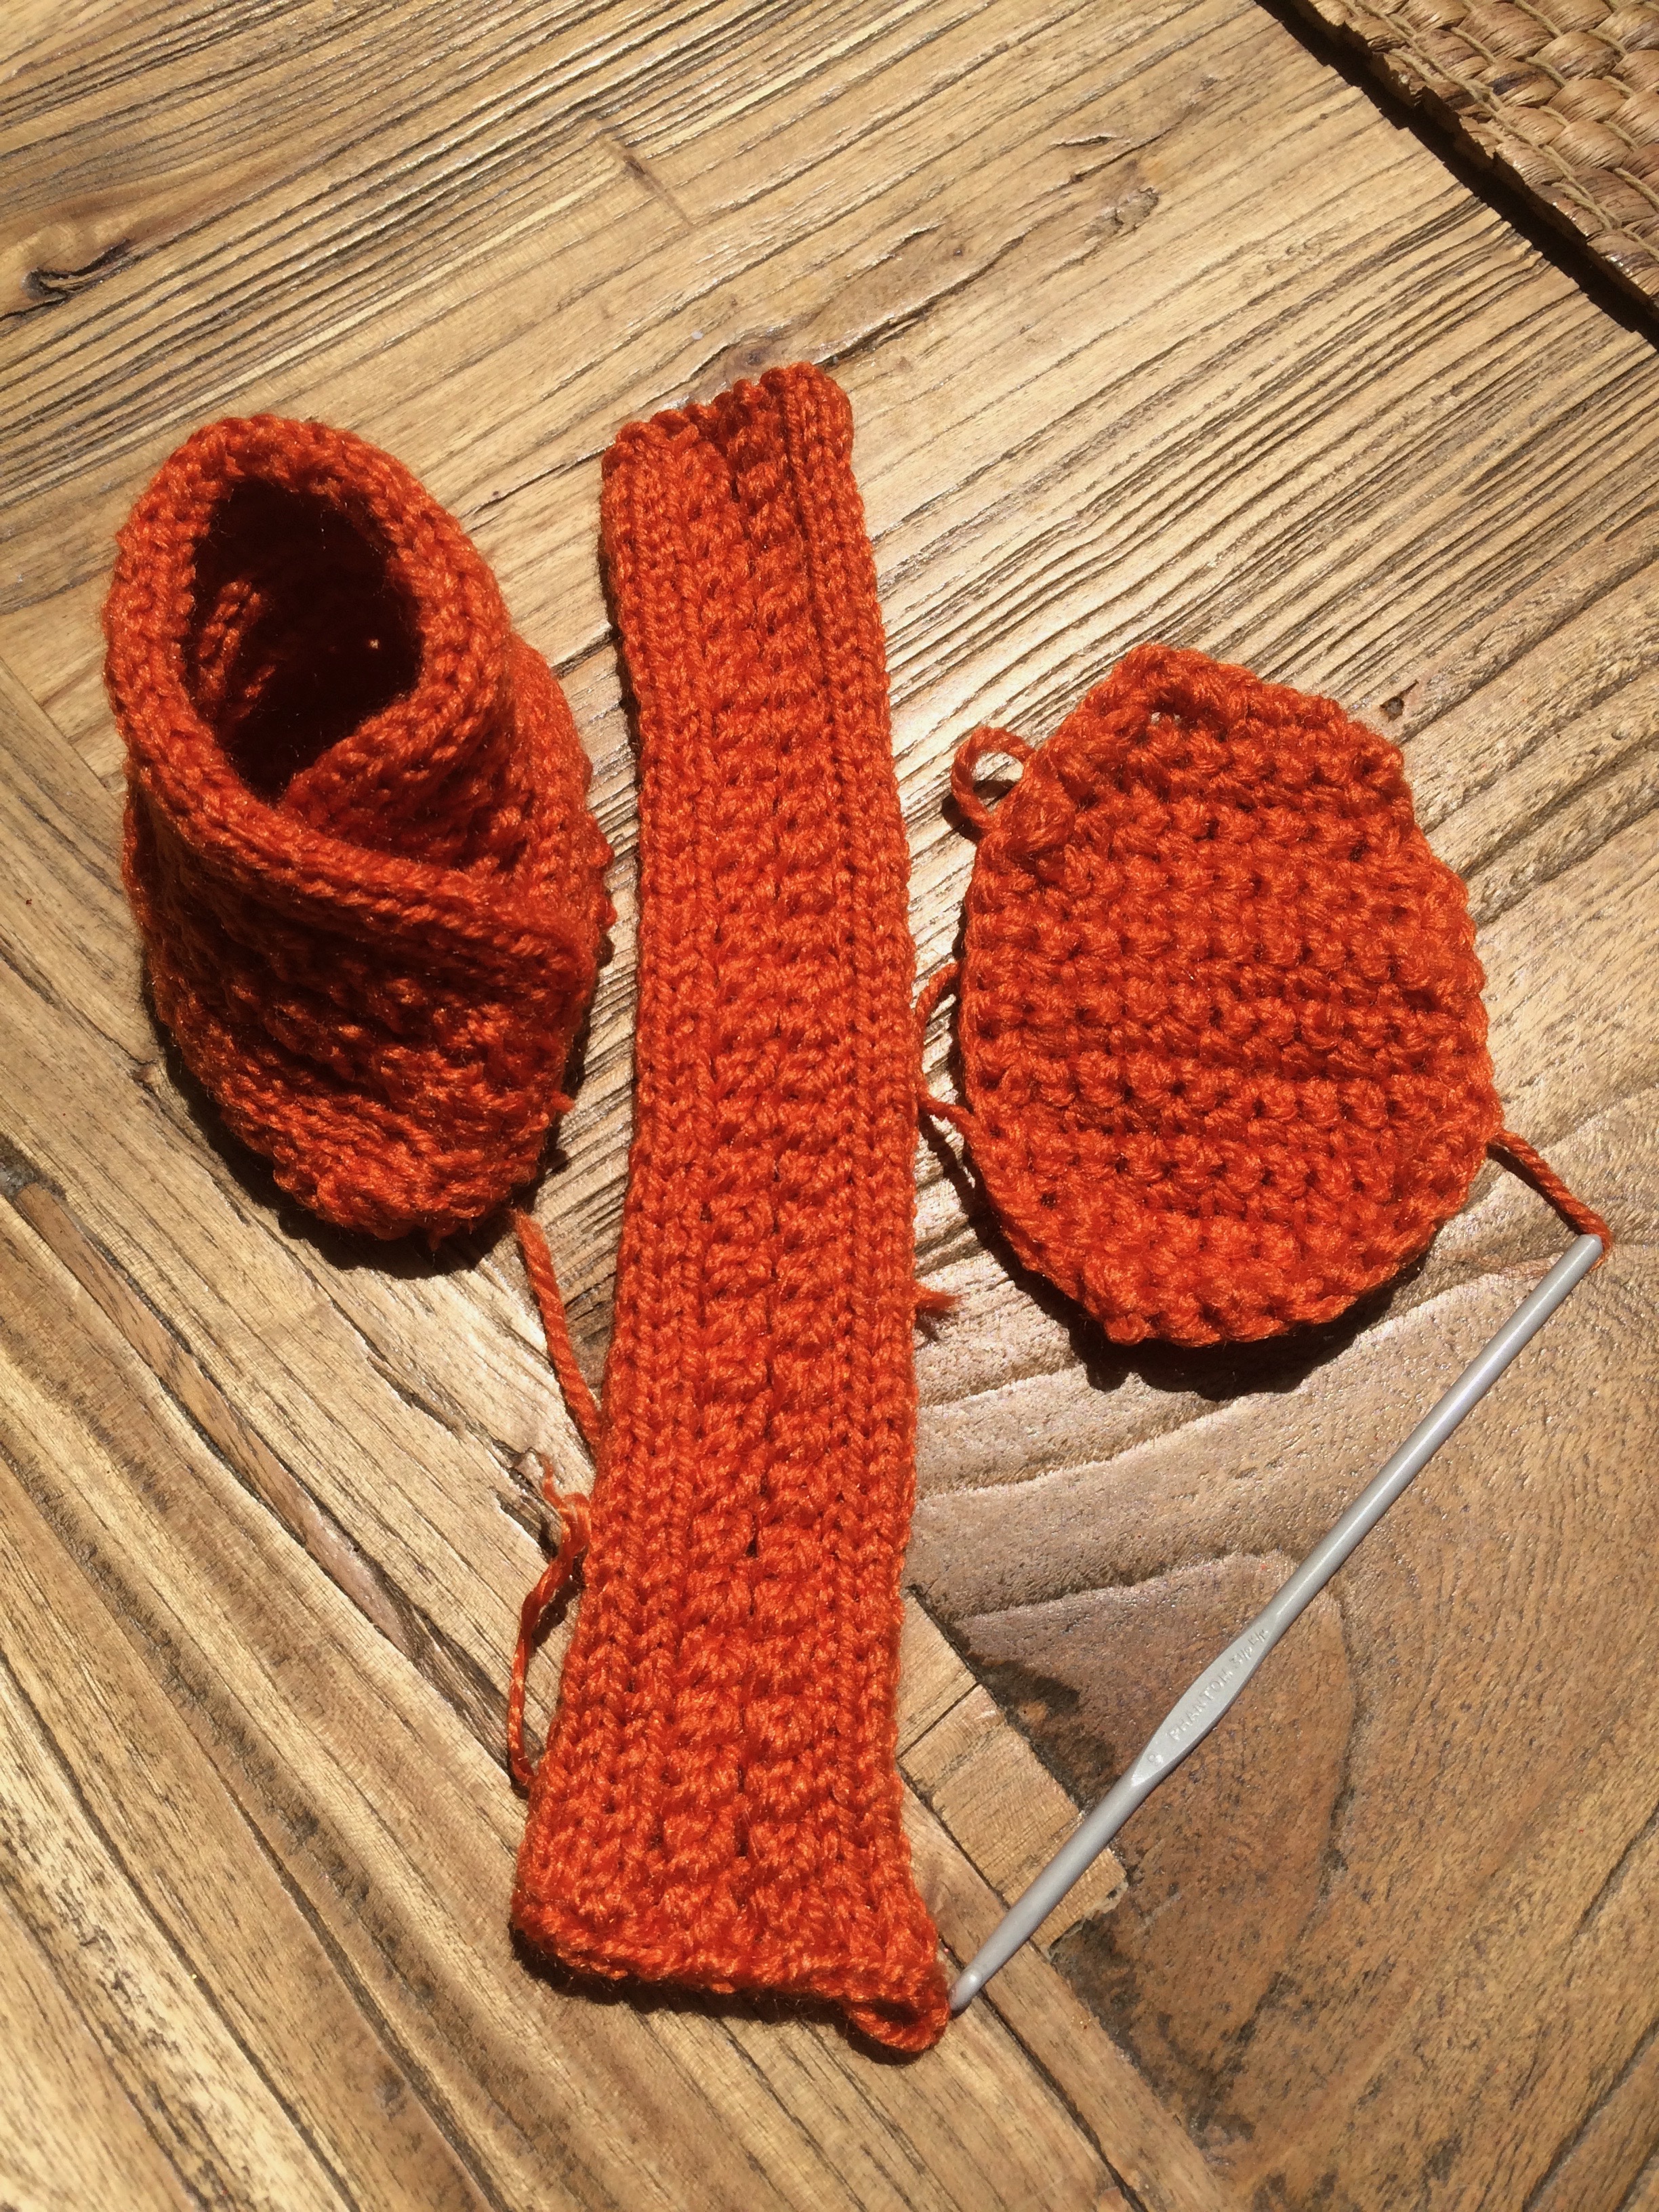
Knit strip until they reach from just to the side of the toe around the sole and acroSs to the opposite side of the sole. See pictures below.
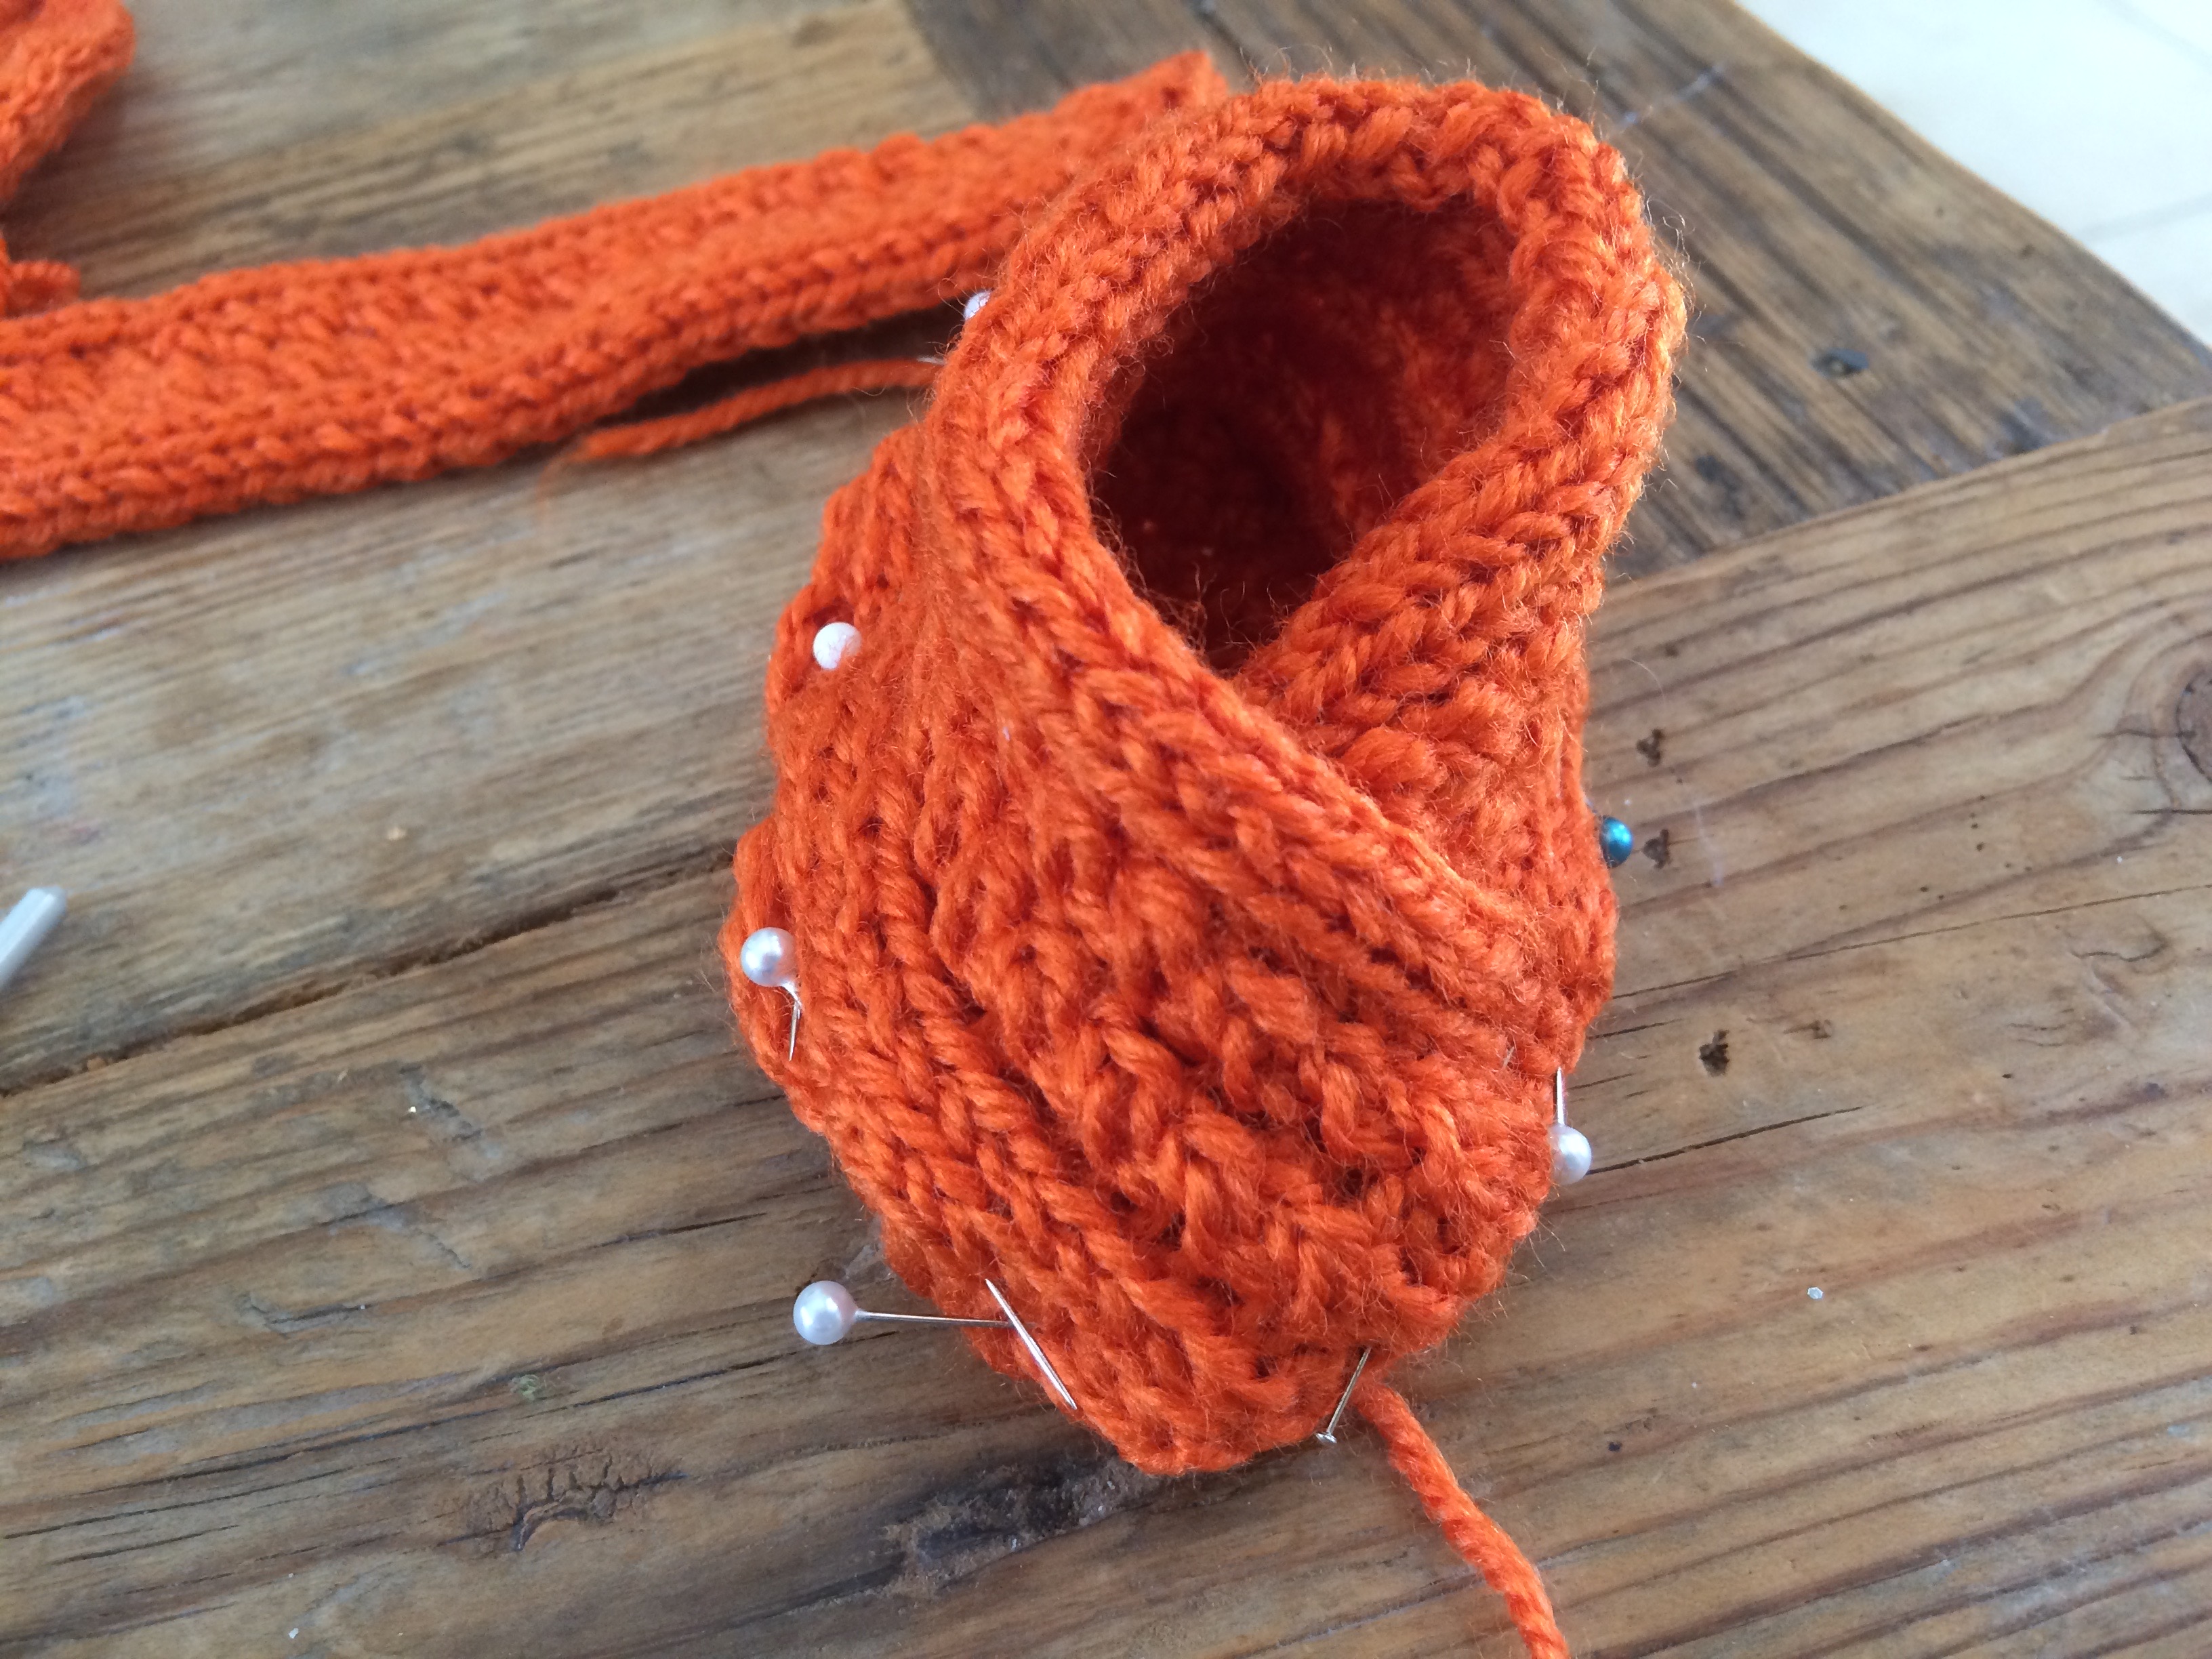
PUTTING IT ALL TOGETHER
The upper was just a straight strip which measured from one side of the toe around the heel and back down the other side to crossing over onto the opposite to the side. Does that make sense? Anyway a picture paints a thousand words and my pictures are really self explanatory (I think). Again I reiterate that although this is the simplest knitting task you need courage to wing and have a go. I think you could make them any size at all because once you have the shape and length of the foot, the rest is just straight knitting. Remember you have to make a right foot and a left foot so the cross over should finish on the outer side.
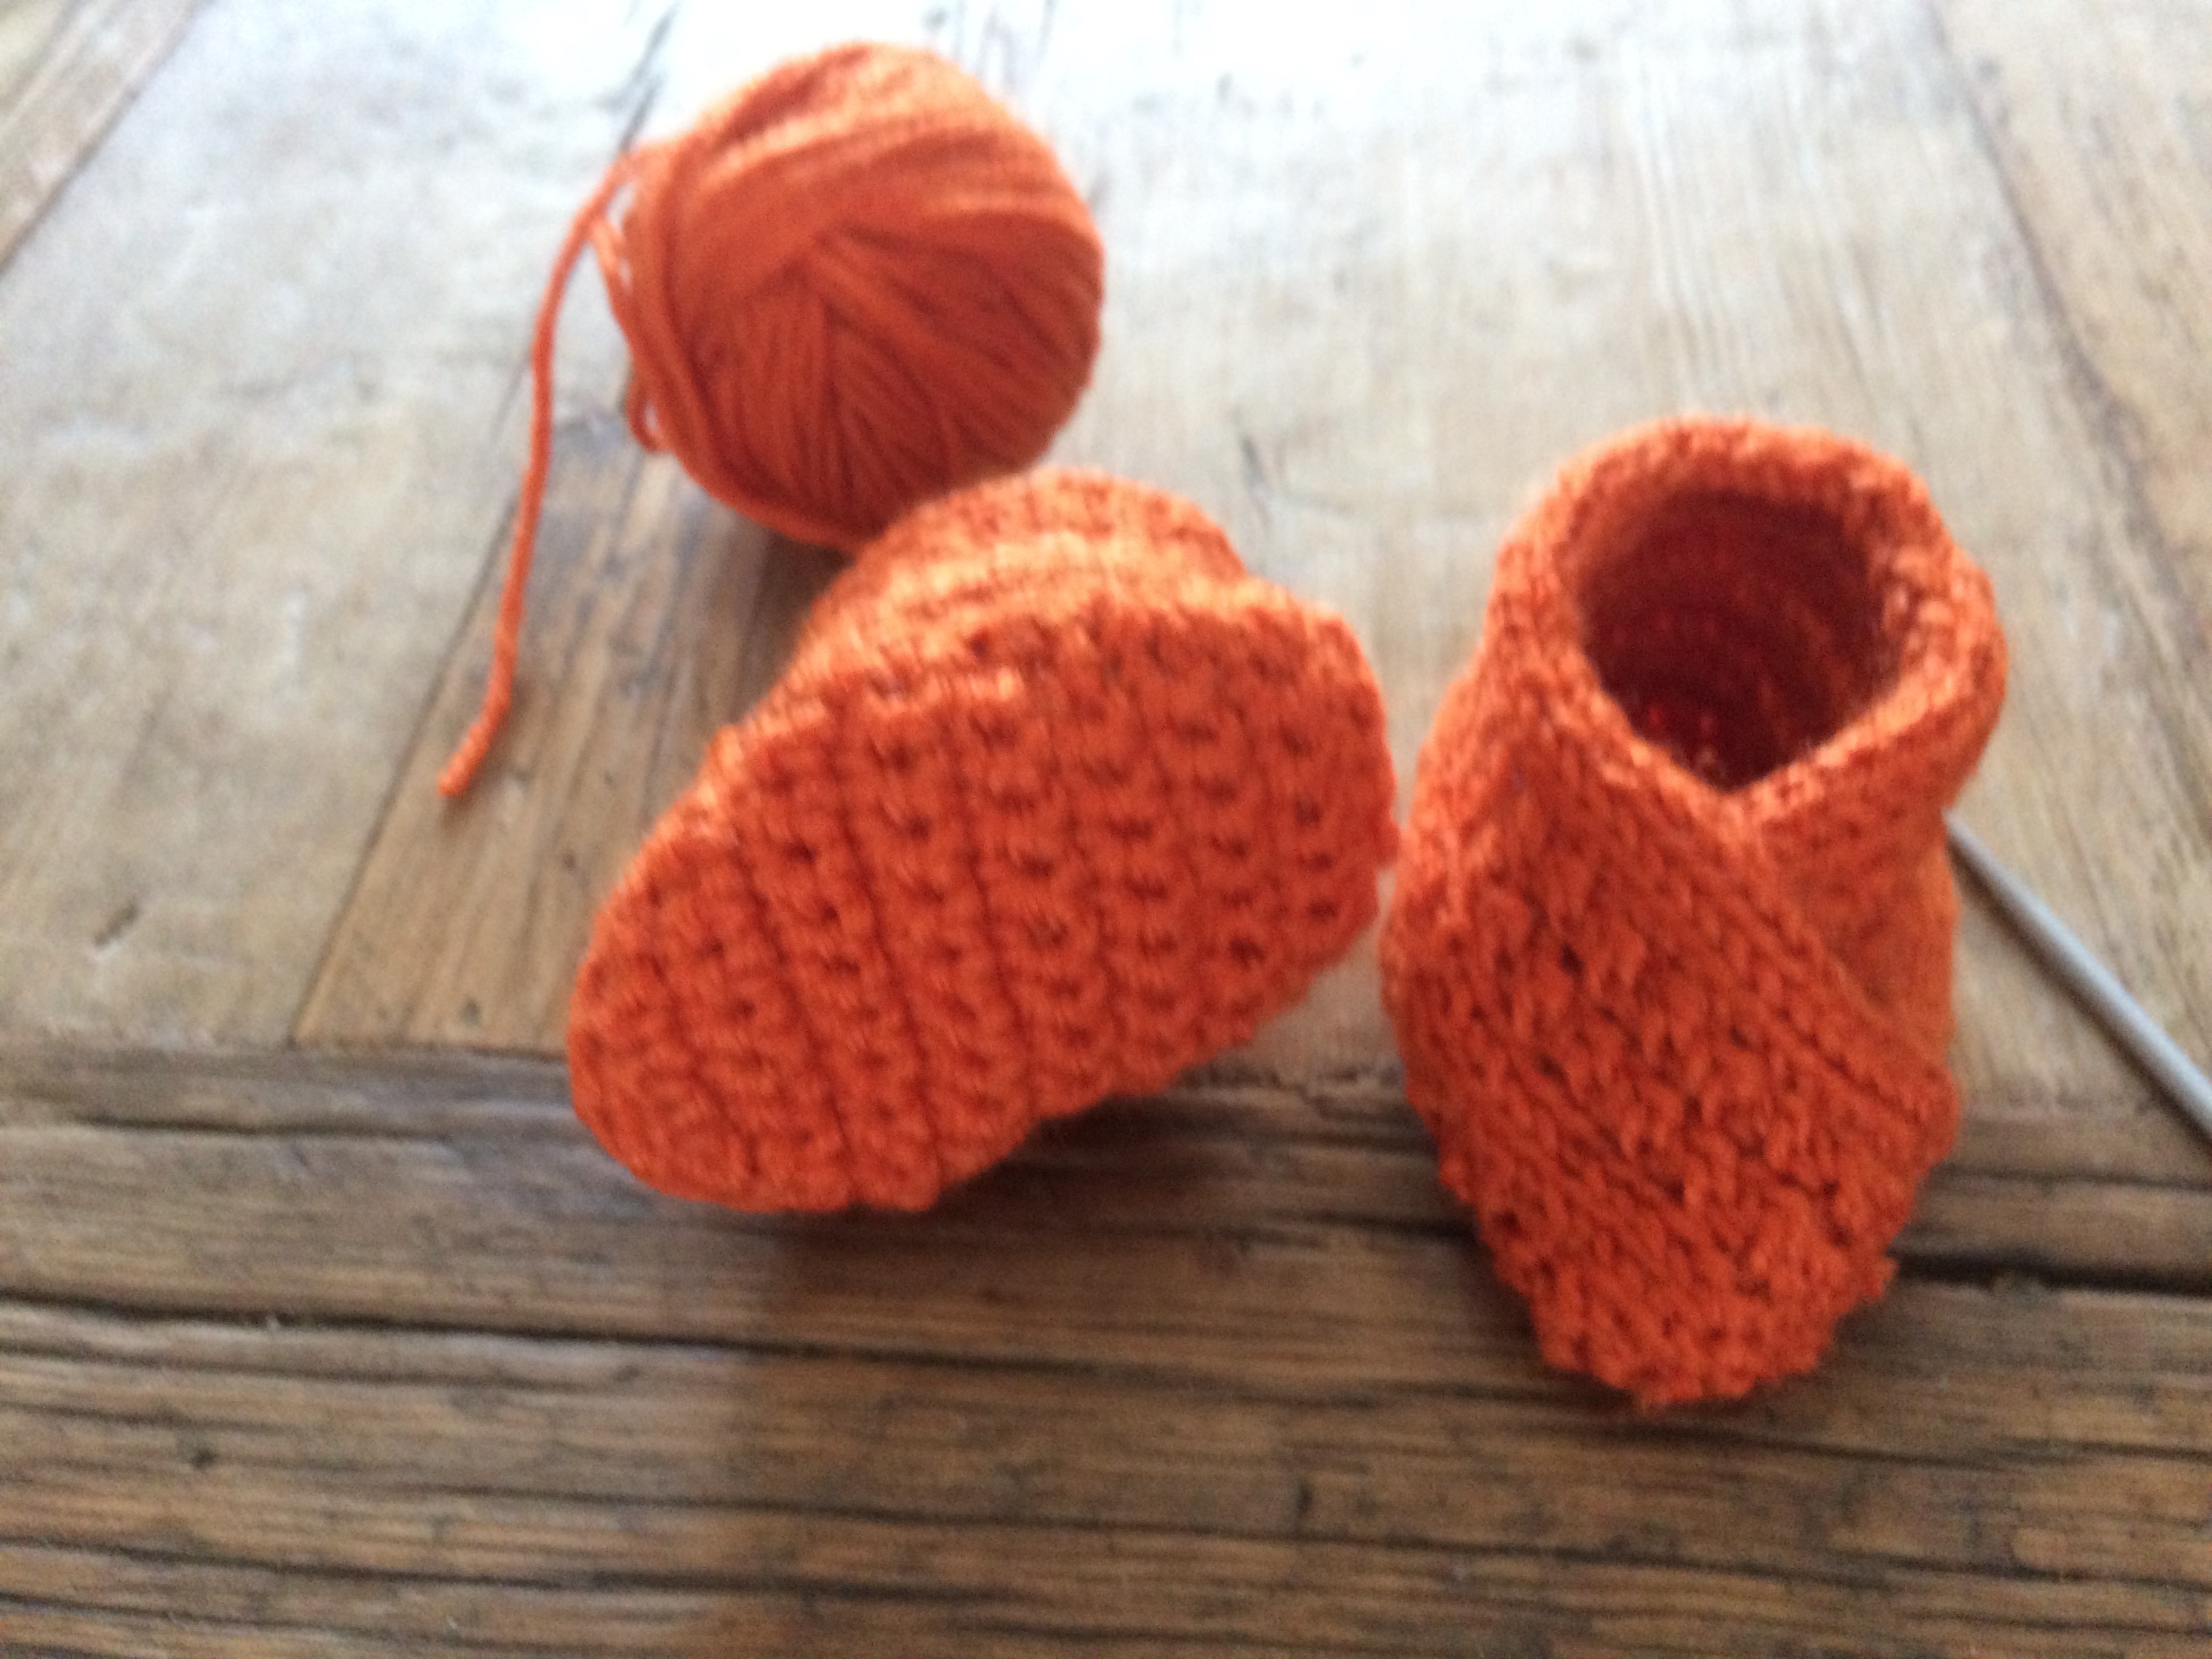
To make them non slip I used rubberized puffy paint from the craft shop and placed dots on the bottom sole of the slipper. This works a treat. Below is an other cute set before I added the puffy paint dots. I do hope you have fun with this idea and contact me if you need extra assistance.
