
THE BASIC KNITTY PATTERN
I have been knitting for too many years to remember and really love creating little soft toys which are just a handful and perfect for little hands. I stumbled upon this cute little pattern ages ago and copied only the picture and pattern. I don’t know who made the original pattern but I would like to share it with everyone along with the variations I made to create darling little woollen toys.

It is now the basic pattern for lots of ‘Little Knitties” and with a bit of knitters knowhow and imagination you too could create lots of sweet knitties for your family and friends. I use all kinds of left over bits of wool or acrylic, usually 4 Ply using size 8 needles. I find each one takes a few hours to make. They have become absolute favourites of the little people who received them and I’ve had several requests to reknit a knitty because it was loved too much.
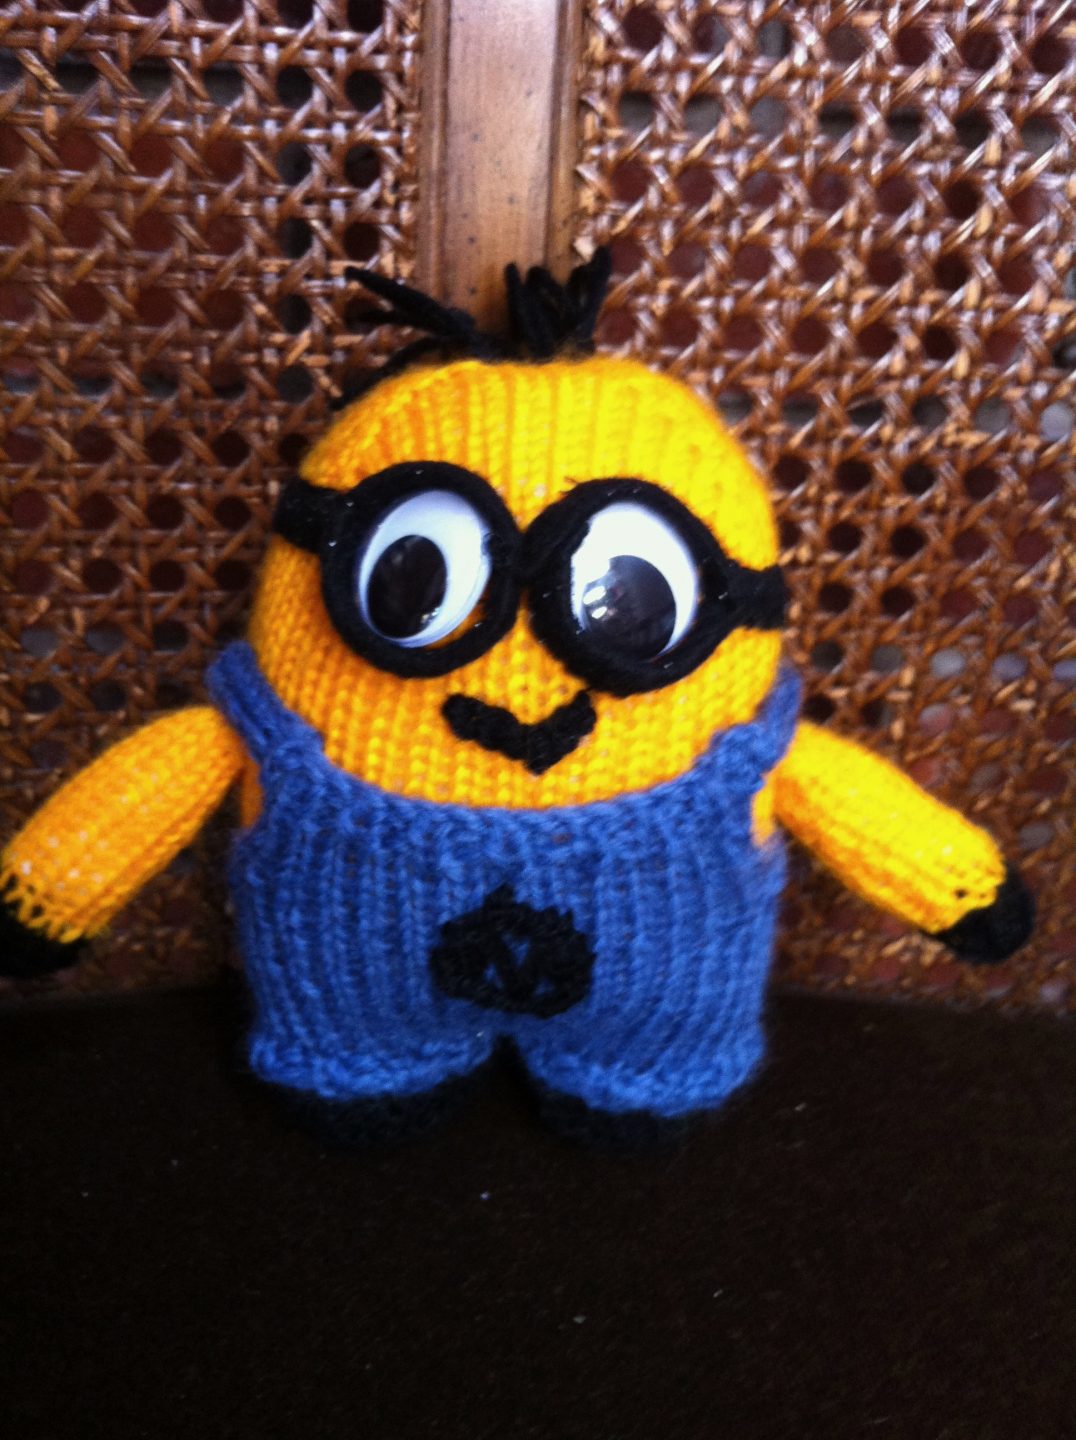
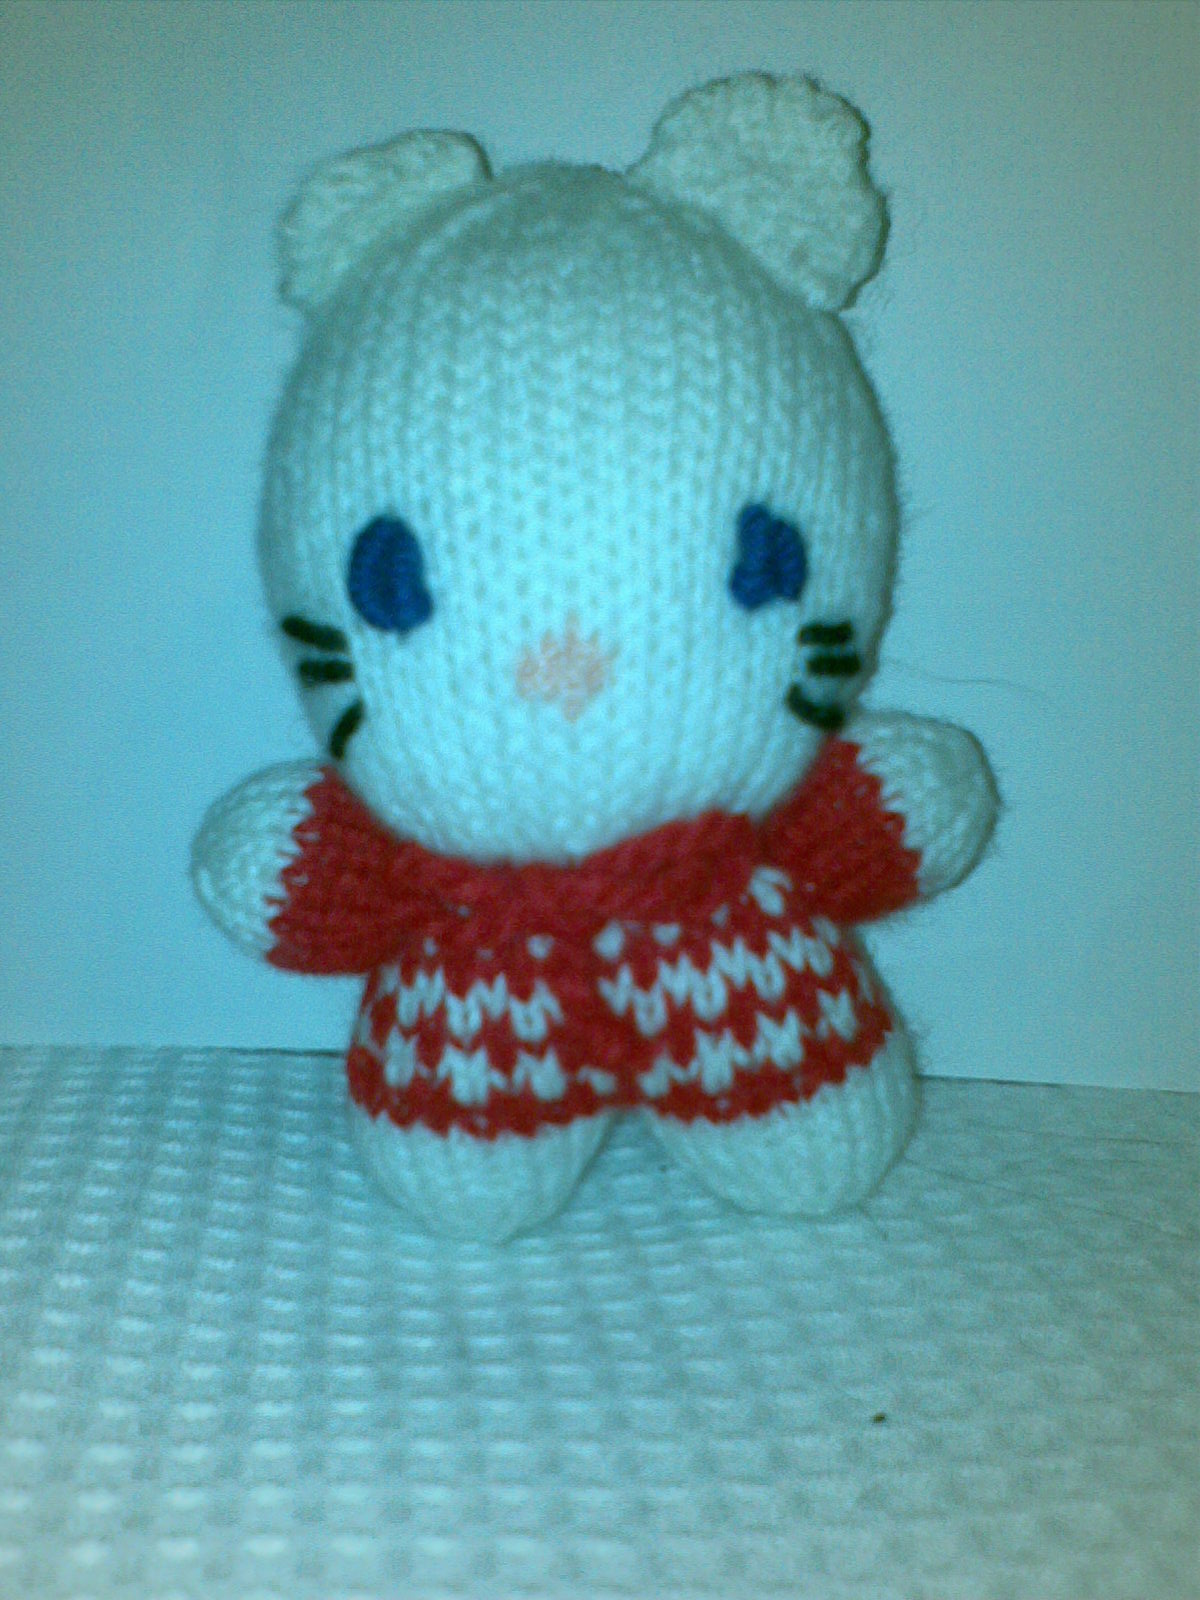
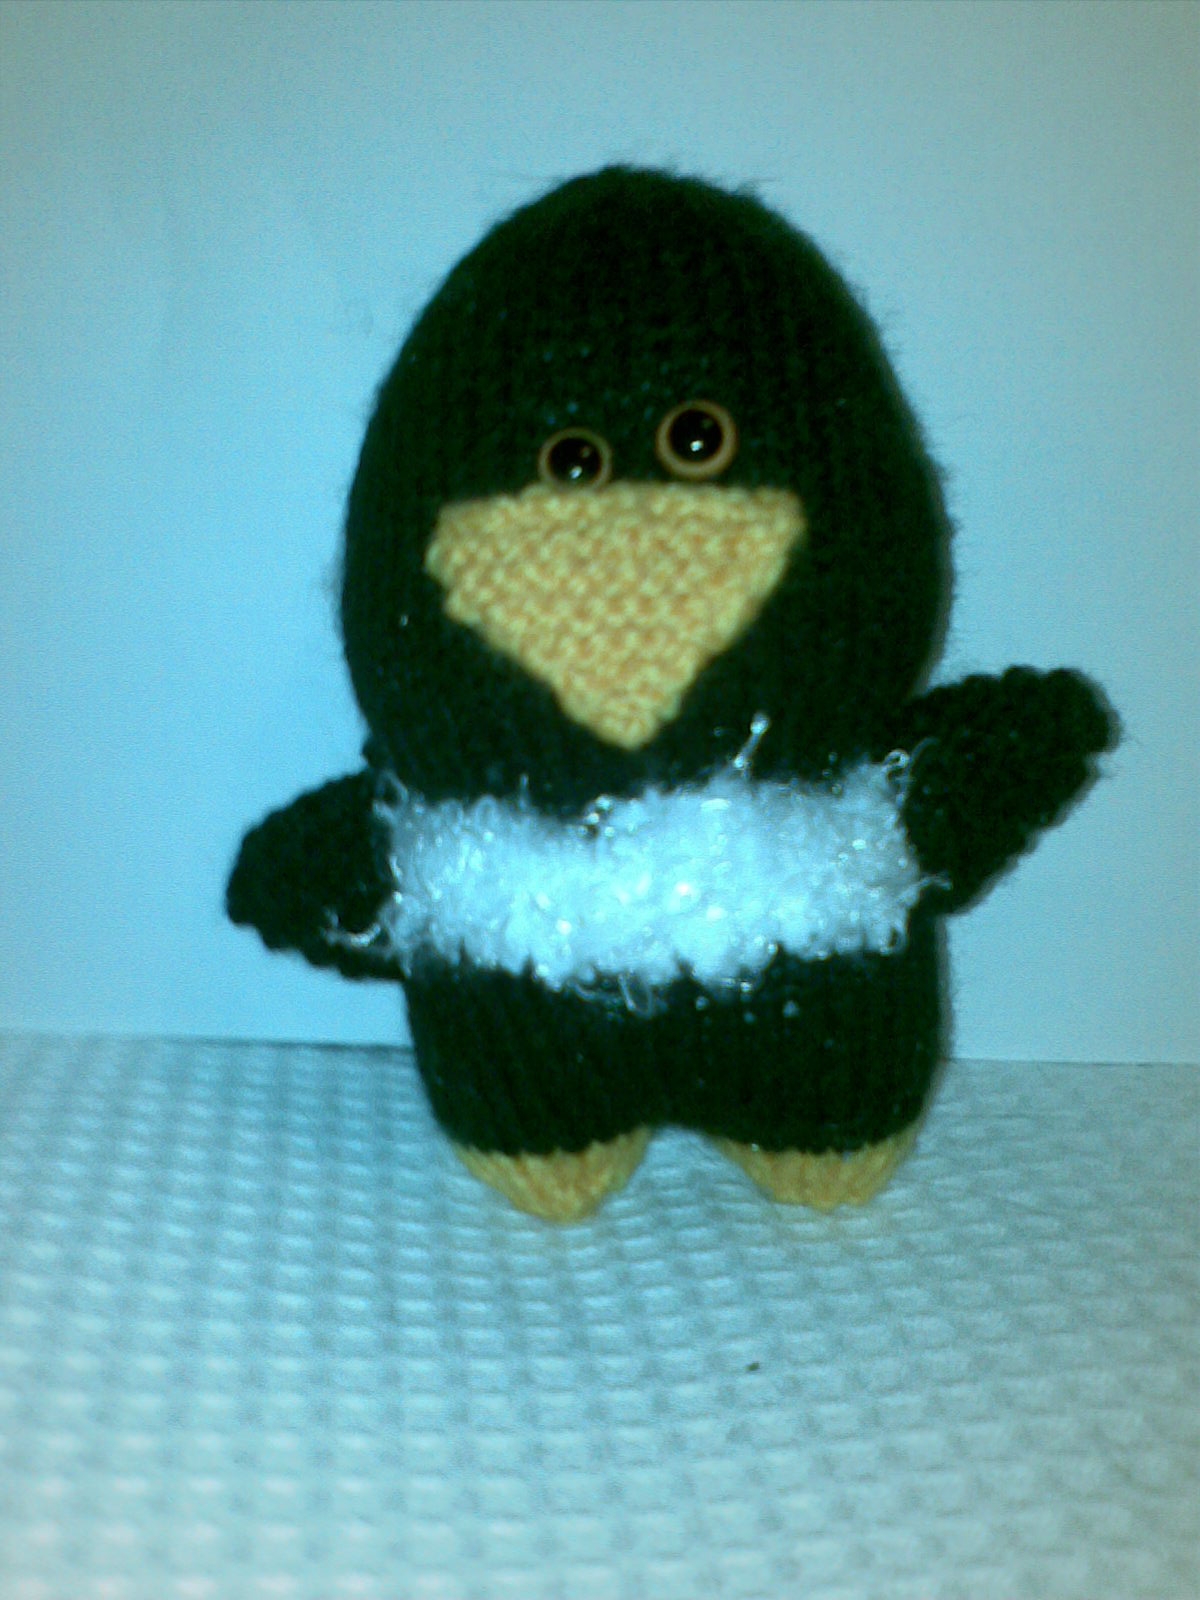
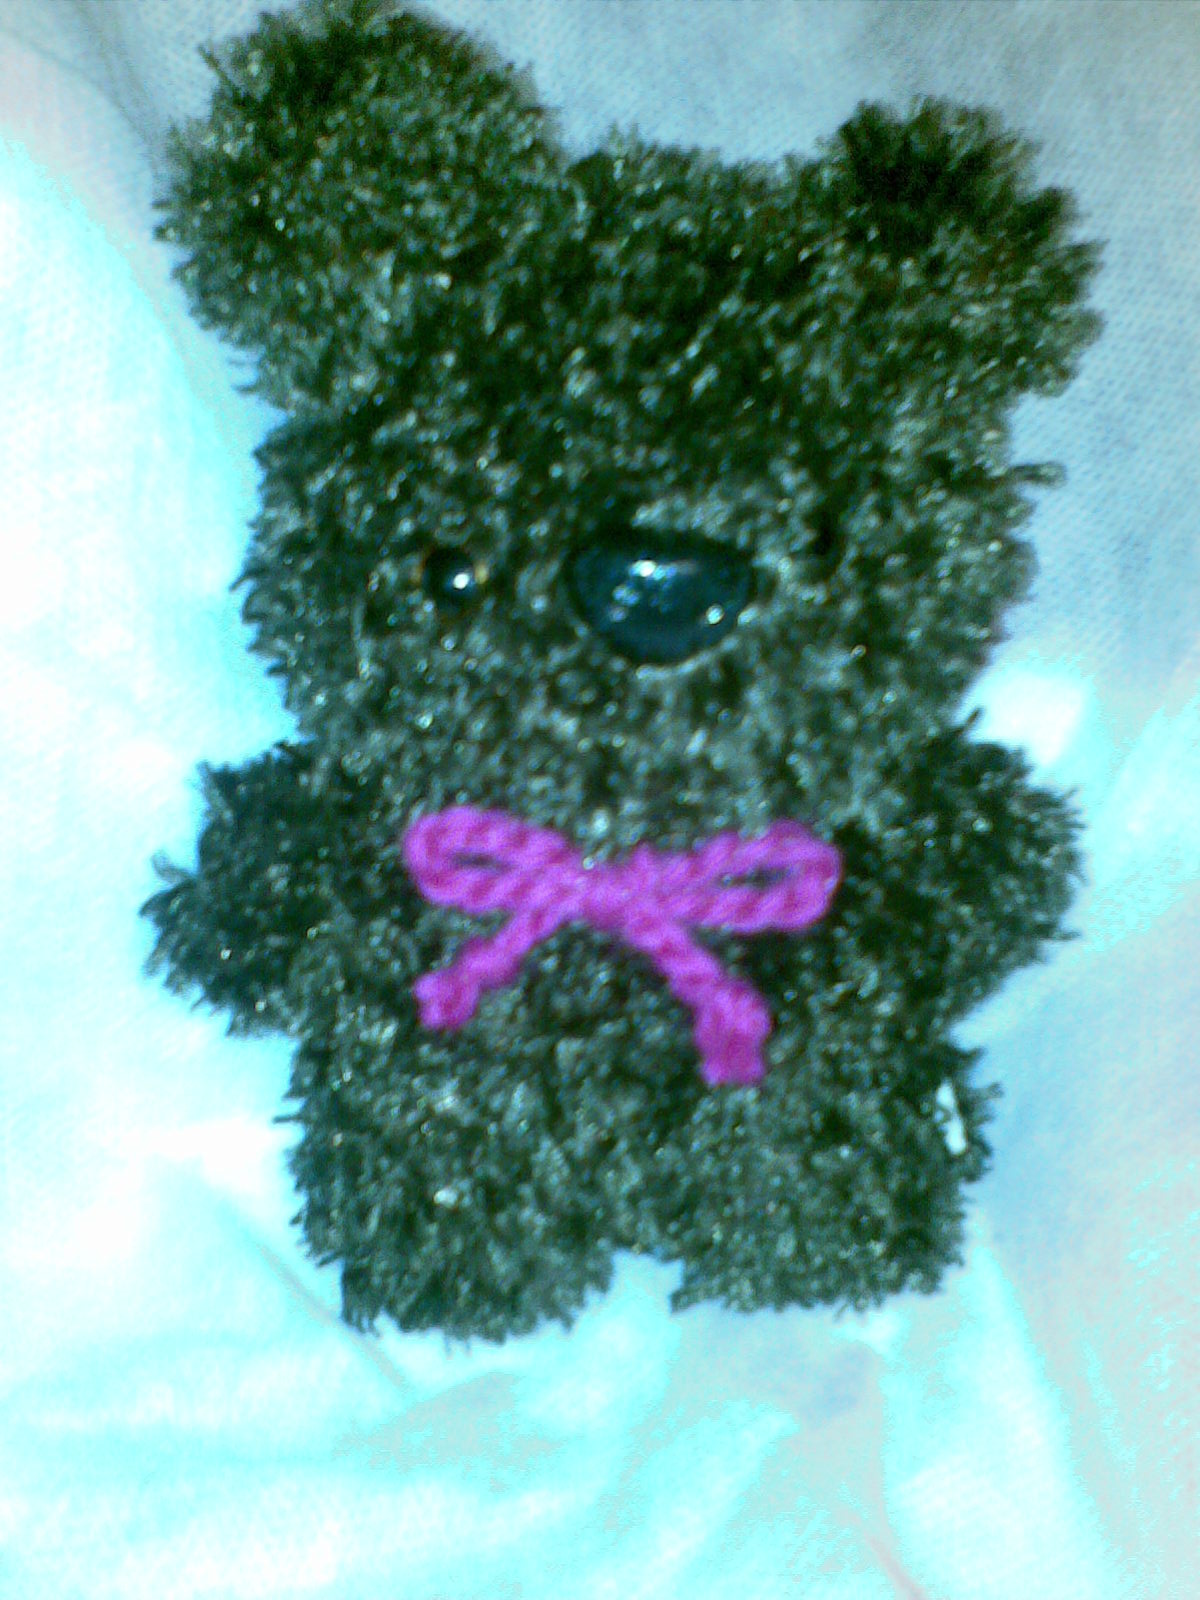
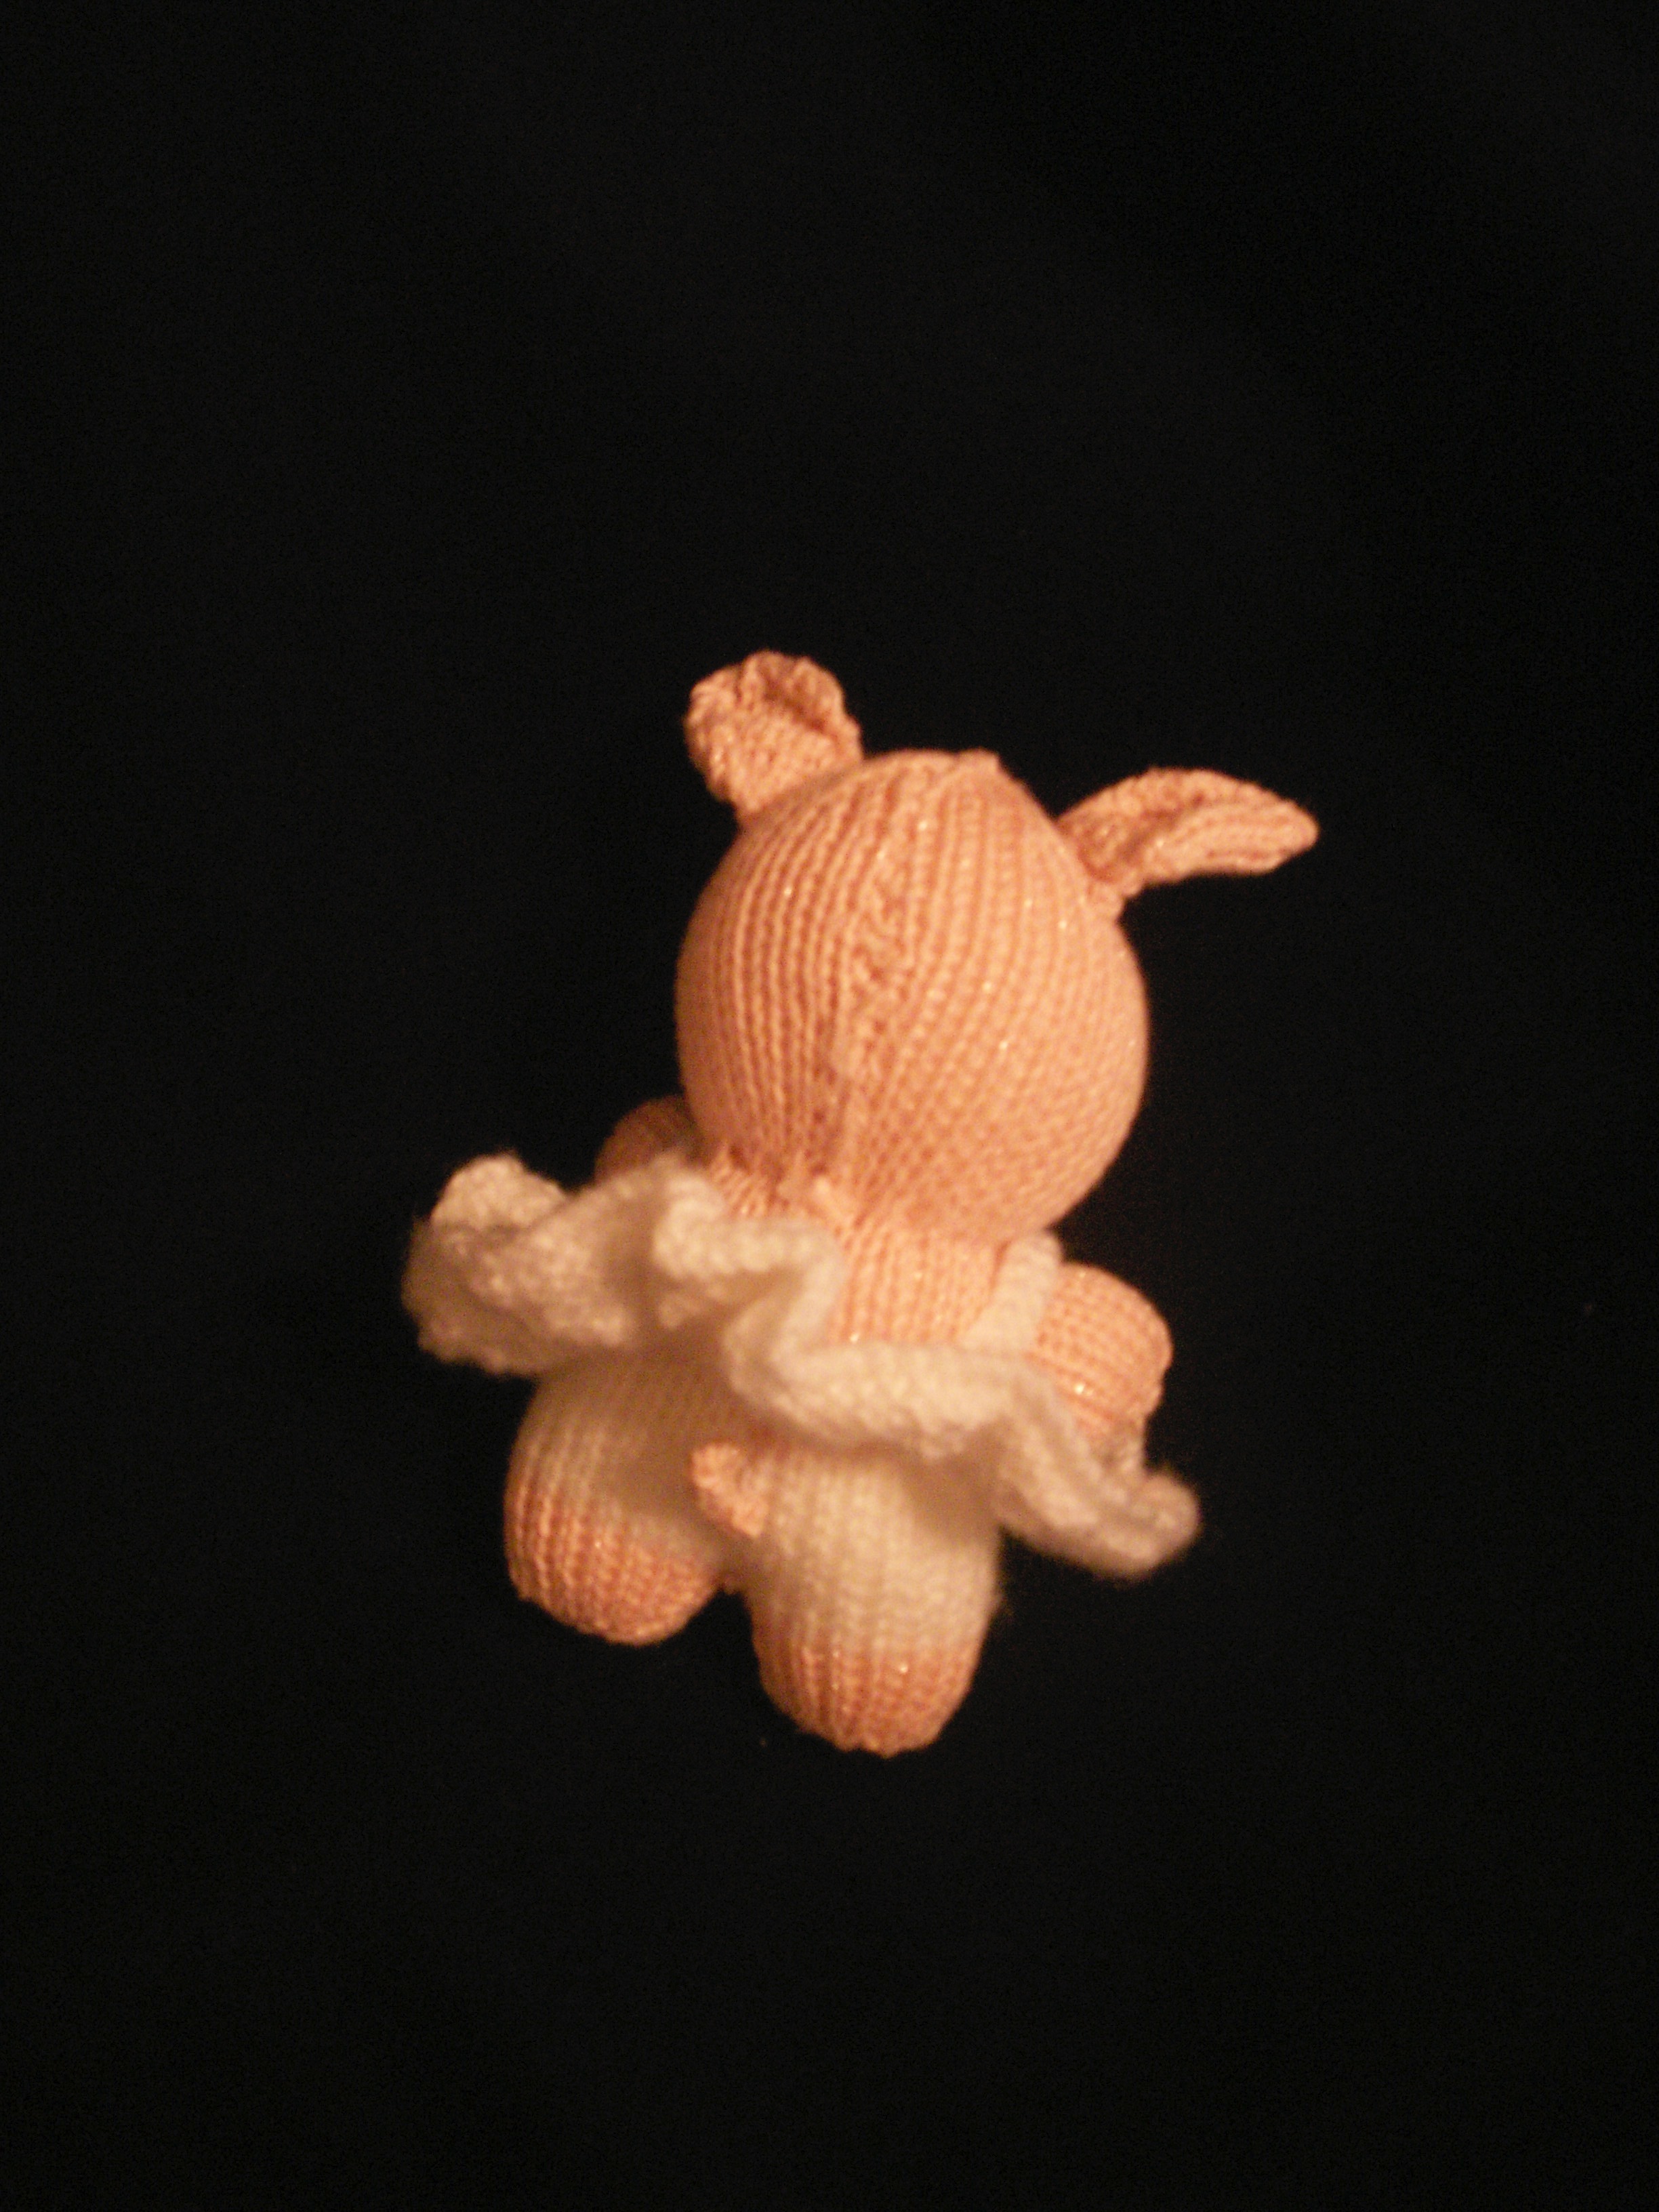
I have chosen some of the knitties I have made. They are all different so just use your imagination.
The Pattern
Starting at the legs
 LEGS
LEGS
Begin at the lower edge of one leg and using your legs/arms/head colour cast on 10 stitches.
1st row: Increase into every stitch ………………..20 sts
Beginning with a purl, stocking stitch 5 rows.(1 row plain,1 row purl)
Break off yarn and slip the stitiches onto a spare needle ( or a stitch saver)
Work the 2nd leg n the same way as the first. Break off the yarn and now join on the body/ clothes colour.
BODY AND HEAD
Mark each end on the row with a bright colour piece of wool. (Tie it through the first stitch) With the right side facing and using the new colour knit across the 20 sts of the leg and then across the 20sts on the spare needle………………………..40sts
Stocking stitch (St-st) 10 rows

SHAPING THE UPPER BODY
K7,(K2tog)x4, K10,(K2tog)x4, K7…………………32sts
St-st3 rows
Break off this colour and join in the Head colour.
Increasing for the head
NEXT row: (K1, inc into next stitch)to the end……48sts
St-st 11 rows
SHAPING HEAD
1ST row: K11, (K2tog) twice, K18, (K2tog)twice, K11…………44sts
2nd,3rd,4th rows: St-st
5th row: K10, (K2tog) twice, K16, (K2tog) twice, K10
6th and every alternate row: purl
7th row: K9, (K2tog) twice, K14, (K2tog) twice, K9
9th row: K8, (K2tog) twice, K12, (K2tog) twice,K8
11th row: (K2,K2tog) to the end
13th row: (K1,K2 tog) to the end
15th row: (K2 tog) to the end.
Break off and tie tightly. (thread the wool back through the stitches and secure)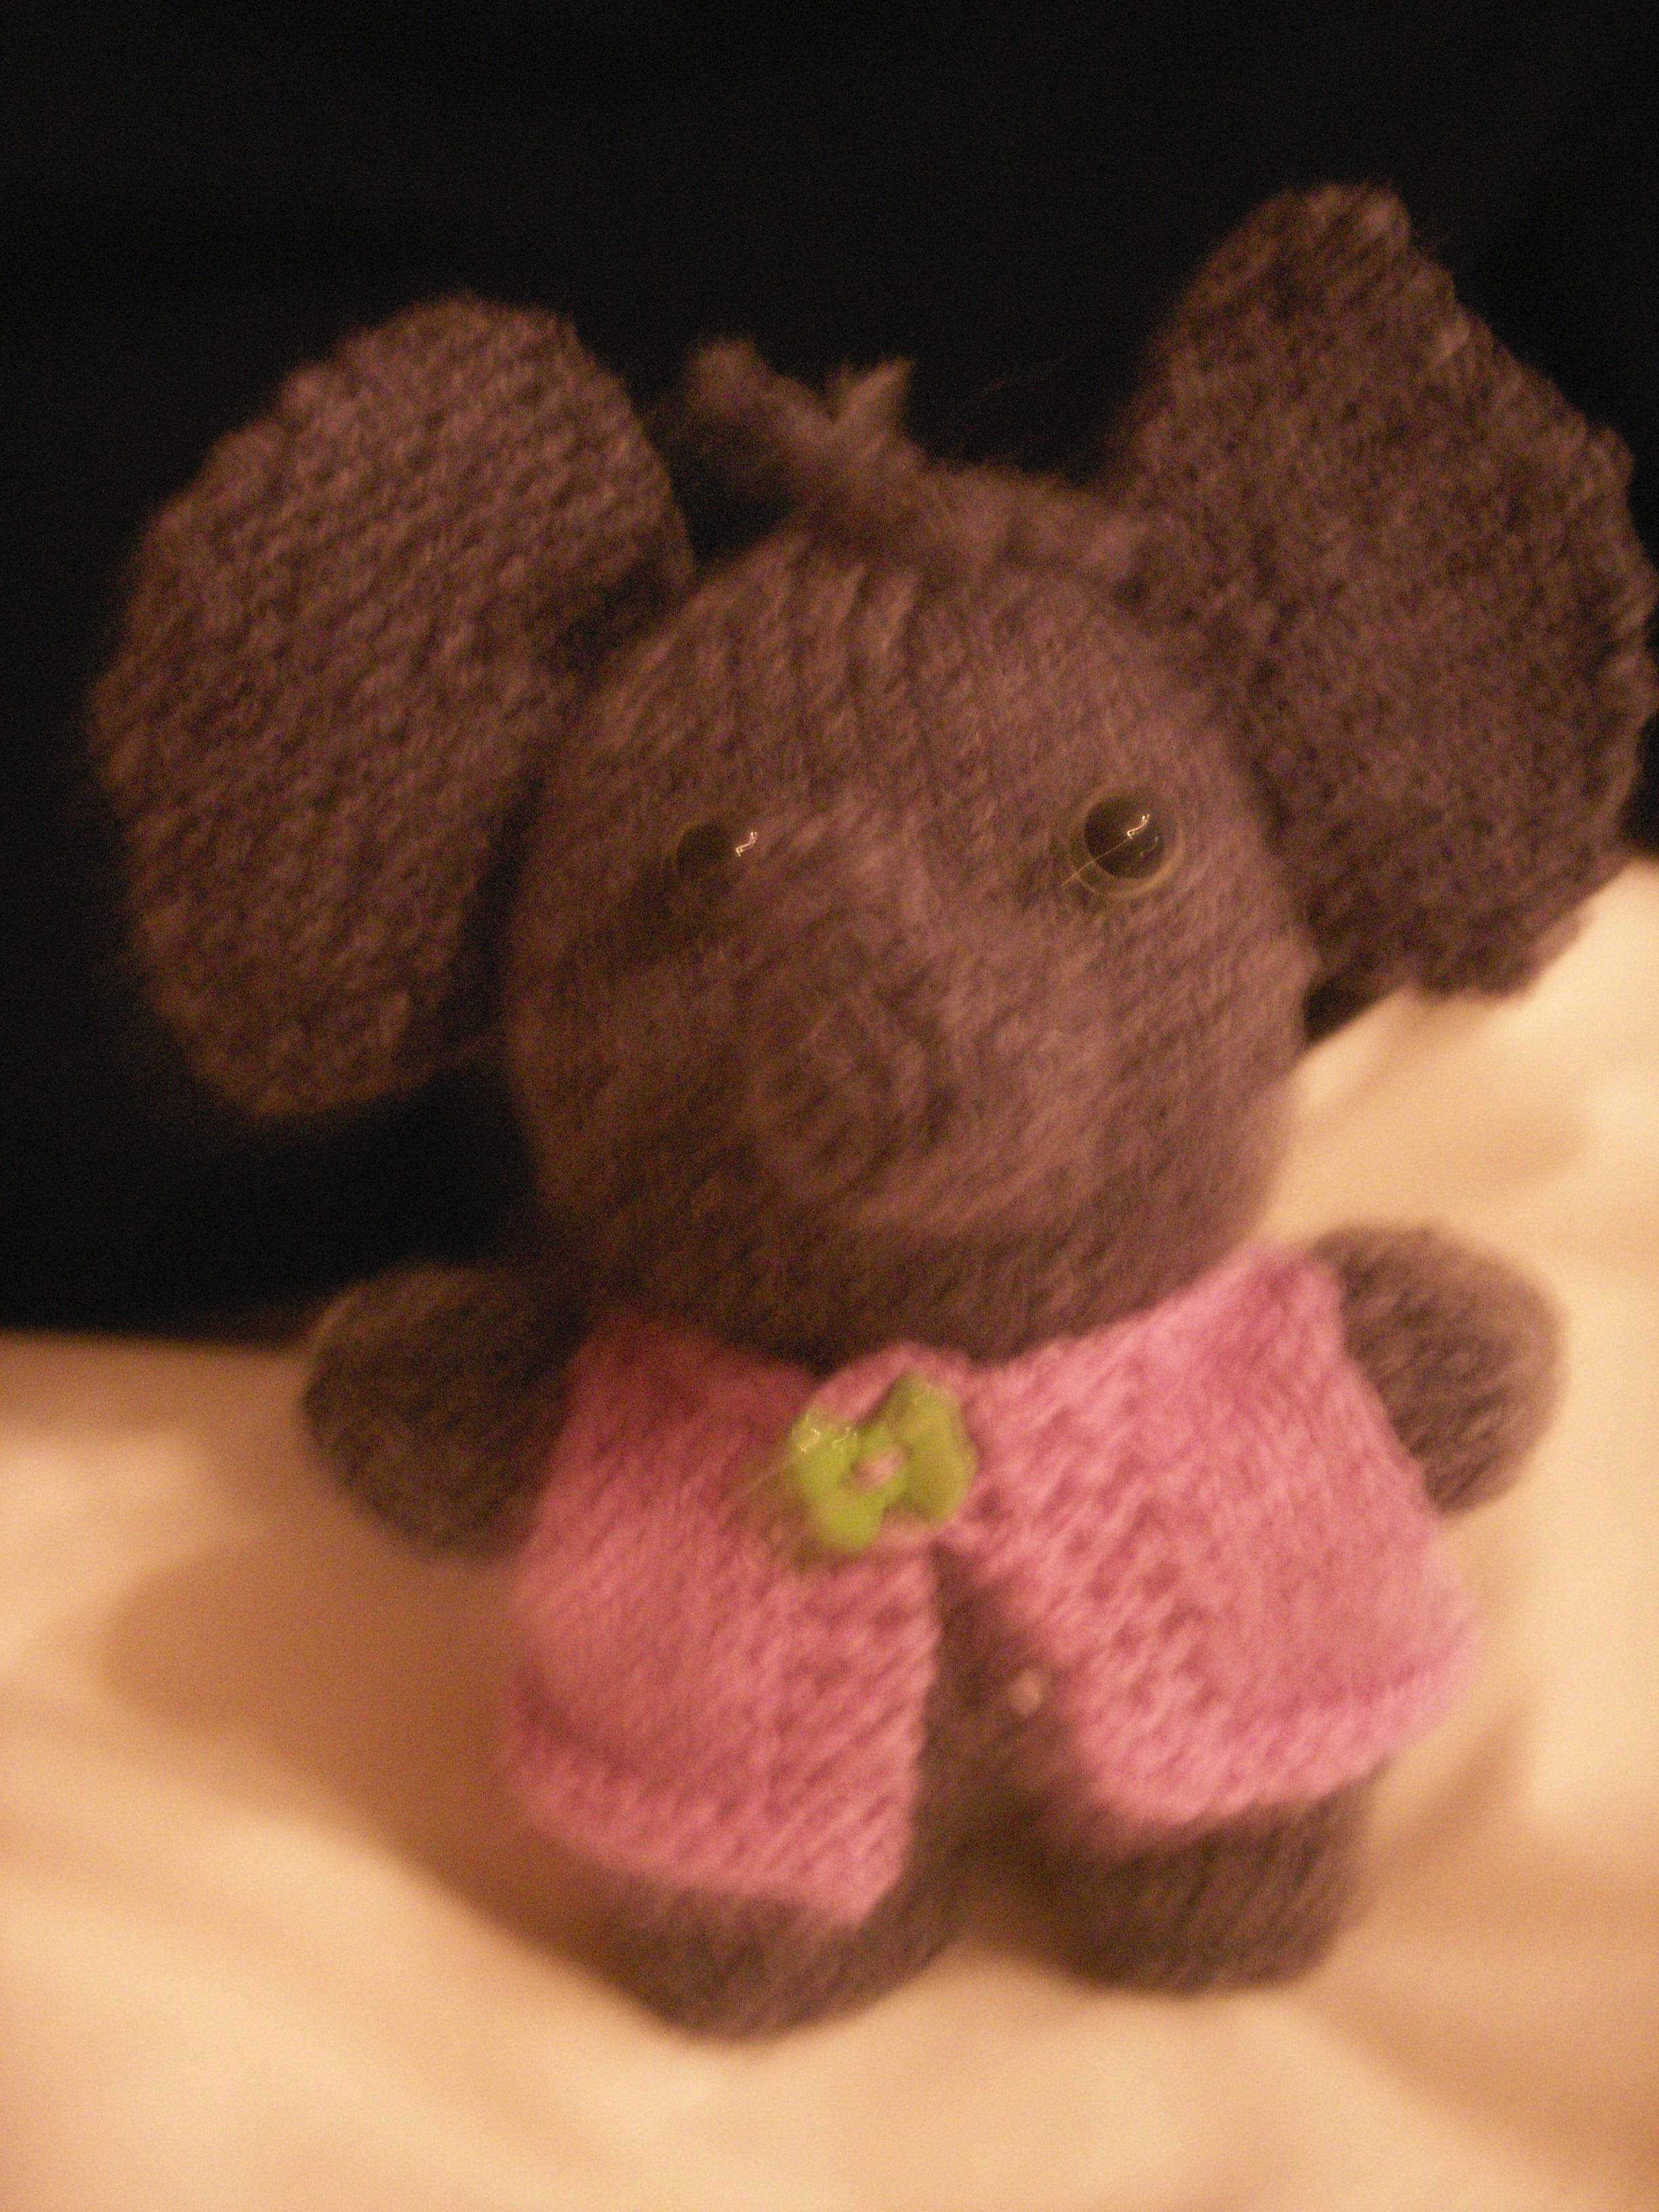
EARS
Now these can vary depending on the type of ears long, small, square etc. but for the tiny pointy ones.
Begin a the lower edge of the ear and cast on 7 sts.
Garter stitch 4 rows, decreasing one st at beginning of every row. You can K2 tog or slip1, K1 and pass slip stitch over (PSSO)
TO SEW UP
With knitting inside out join row ends each leg by joining the seams firmly . Continue joining the seam edges up the back to the neck. Leave a large hole for stuffing and continue up the back of the head.
Turn right side out. Using soft wadding stuff the legs, the body and head.
SHAPING THE NECK
Use a darning or bodkin needle and thread double or triple threads and weave around on the neck line so you have two ends to pull in tight and tie securely. I like to make a woolen tie as well to put around the neck.
 THE TIE
Take 2 long wool threads (2 metres) and with a helper roll the ends in opposite directions until it is twisted firmly and curls together if slackened off. Carefully fold it in half and with the helper holding all the ends together tightly run your hands down the length of the tie over and over until it forms a rope. Make a knot in each end of the tie.
ARMS – make 2
Beginning at the top of the arm cast of 14 sts.
St-st 4 rows.
Break off and join in clothes colour
St-st 4 rows
Next row: (K2 tog) to the end ….. 7 sts
Break off & thread back through to tie it off.
TO MAKE UP
Join the ends, turn right side out and stuff. Sew the cast on edge to the body just below the neck.. Fiddly I know!
FACE
You will see that several times I have used button noses and eyes but realized that caution should be used here. It’s better to sew these rather than using buttons etc because little people are inclined to chew them off.
Using a long needle sew the eyes from the inside so as not to see the knot.
The eyes can be made using double yarn. I like to make French knots in an oval shape.
I know it is harder to sew with the stuffing in the head but I find it easier to make the face look right. I just push the stuffing aside then stuff some more wadding in before closing the back.
Once you get the hang of the pattern I just know you will feel more confident to make variations. Longer ears, longer legs, beaks etc. It’s such fun and everyone has loved receiving one of my Knitties.

KONICA MINOLTA DIGITAL CAMERA


KONICA MINOLTA DIGITAL CAMERA

KONICA MINOLTA DIGITAL CAMERA